i want something as hot as summer and as cold as winter….
Before figuring out what I wanted to make, I already knew a couple of things about dessert for my dinner party. First, that it would involve me using my lovely new toy. And second, that it would be something I could make ahead, without too much last-minute fussing.
So of course, why not guinea pig my guests on baked Alaska. Why not serve a dessert that has to be both hot and frozen, all at the same time. It seemed like a good idea at the time.
And, shocker of all shockers, it actually ended up working beautifully. The presentation was lovely and the taste was quite enjoyable. It’s a bit time-consuming to make, but you can do it up a day or two in advance, so it’s a great thing to be able to pull outta your freezer for dessert.
I took a ridiculous amount of photos. Enjoy. Yet again, stolen and modified from epicurious.com
Raspberry Chocolate Baked Alaska
150 g 70% cocoa chocolate, chopped
6 tablespoons (3/4 stick) unsalted butter
25 g 85% cocoa chocolate, chopped
1 1/4 cups sugar, divided
2 large eggs
1/3 cup all purpose flour
2 tablespoons unsweetened cocoa powder
1/2 teaspoon baking powder
1/8 teaspoon salt
1 pint raspberry gelato, slightly softened
4 large egg whites
1. Preheat oven to 350°F. Butter 9x9x2-inch metal baking pan; line bottom with parchment paper.
2. Stir bittersweet chocolate, butter, and unsweetened chocolate in small saucepan over low heat until chocolates melt and mixture is smooth. Cool 10 minutes. 
3. While mixture is cooling, whisk 3/4 cup sugar and eggs in large bowl until well blended, about 1 minute. Whisk in chocolate mixture.
4. Sift flour, cocoa, baking powder, and salt over; stir to blend. (I don't have a sifter, so this is what I use:)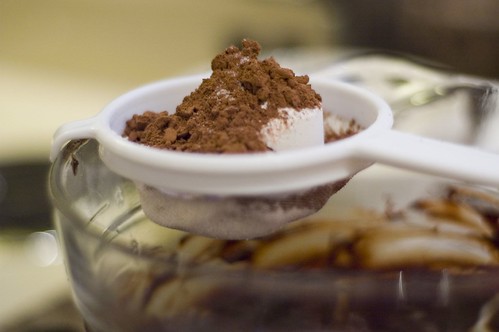
Transfer batter to prepared pan. Bake cake until top looks dry and tester inserted into center comes out with some thick sticky batter attached, about 17 minutes. Cool cake in pan to room temperature.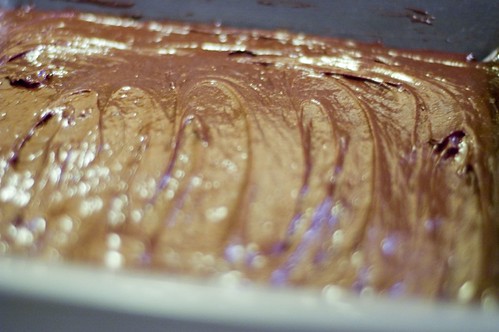
5. Cut around cake in pan. Place cutting board over pan and invert, tapping out cake. Peel off parchment. Using 3-inch round cutter (or spiegelau, hehe), cut out 6 cake rounds (save remaining cake for another use - i.e., munching and chewing while you go about completing your dessert).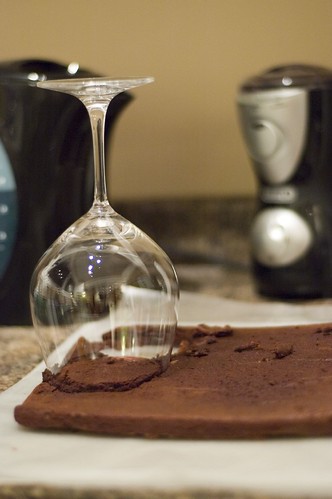
6. Line a small baking sheet with parchment paper. Arrange cake rounds on prepared sheet. 
Using 2 1/4- to 2 1/2-inch-diameter ice cream scoop, place scoop of raspberry gelato in center of each round, leaving about 1/4-inch plain border. 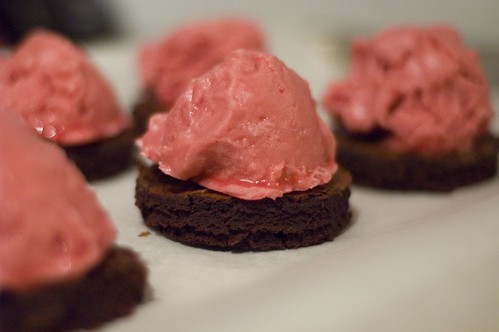
Freeze until ice cream is solid, about 2 hours. (I was worried about my gelato, as it seemed to go straight from solid to liquid, with no in-between....as soon as it was soft enough, I scooped it into little mounds with a 1/2 c. round measuring cup and stuck those in the freezer - actual ice cream isn't so bad for melting, but gelato really just MELTS).
7. Combine remaining 1/2 cup sugar and egg whites in large metal bowl. Set bowl over saucepan of gently simmering water and whisk until mixture is very warm, about 2 minutes. Remove bowl from over water. Using electric mixer, beat meringue at high speed until very thick and billowy, about 2 minutes. Place baking sheet with cake rounds on work surface. Mound meringue atop ice cream on 1 cake round. Spread meringue evenly over to cover, sealing meringue to plain cake border and swirling decoratively. 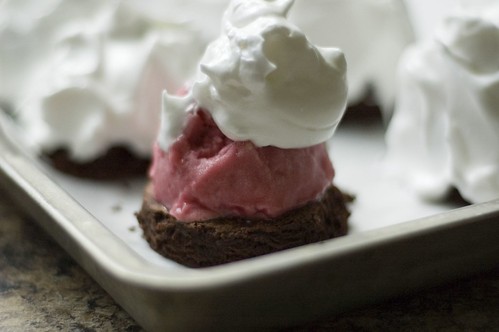
Repeat with remaining desserts. Freeze uncovered on baking sheet until meringue is solid, at least 2 hours and up to 2 days.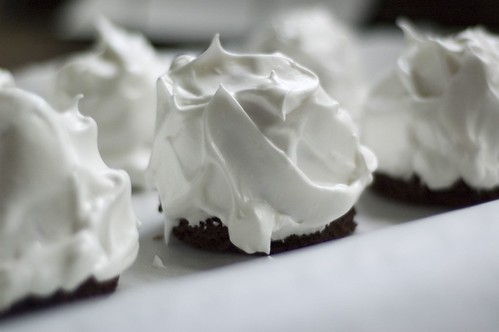
8. Preheat oven to 500°F. Transfer desserts still on baking sheet from freezer directly to oven. Bake until meringue is deep brown in spots, turning sheet as needed for even cooking, about 3 minutes. Transfer to plates ASAP before it turns into an imploded, melted, puddle of goo.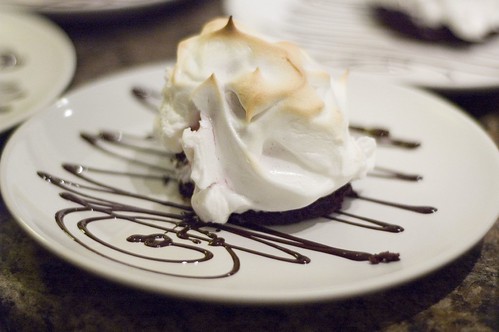
Many thumbs up for this. I drizzled a little more of the 85% chocolate on the plates (the joys of a microwave and a ziploc bag), but you could plate alongside fresh berries, coulis, or really anything. 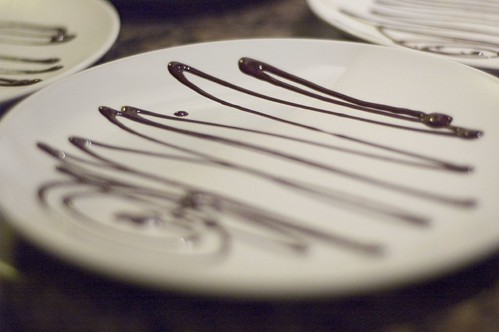
I've also heard tell of flambéed alaskas - I wasn't quite ready to set my food on fire (particularly with a toodler in the midst), but would be open to the prospect next time. :)


7 comments:
I have always wanted to try this. Yours are gorgeous!
Just as Deb, I have always wanted to try this too!
I love you "ridiculous amount of photos" - great!
These look fantastic. Did your guests make fun of you for taking all those pictures before you would let them eat?
deborah and patricia - thanks for the comments! :)
janet - I used to be a little apprehensive about taking food pics when company is around, but the reality is that most people don't even notice. My kitchen is completely closed off from the dining room, and I guess the SOLE benefit of this type of layout is that nobody really notices the foolish blogger holed up in the kitchen, taking pics. Also, I usually only take 2-3 shots, max, so there's really only about a 30 second delay... Not a lot of mise en place here...
*claps hands* You always out do yourself! They look absolutely delicious! You're inspiring me to put my macro lens to more use!
Wow, you are too so Martha!
Great presentation and photos.
Looks like a success.
These look beautiful.
Post a Comment