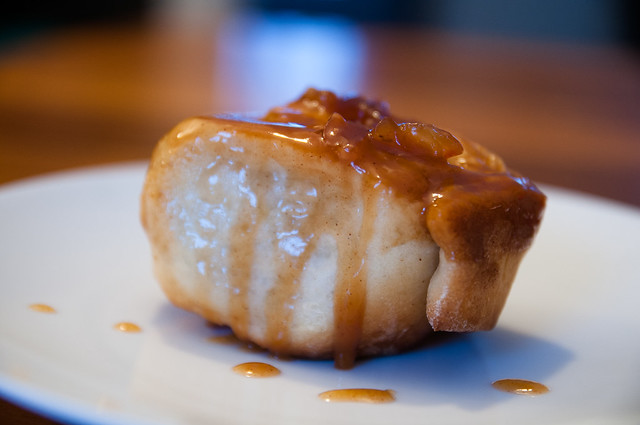
tarte tatin rolls (aka "cinnamon roll goes to France, forgoes cinnamon")
I LOVE cinnamon rolls. Since I was a child, a delicious cinnamon roll has been one of my absolute favourite treats. Our local bakery used to make the most wonderful yeasty, squishy and delicious cinnamon rolls that were just dripping with cinnamon and caramelized sugar.
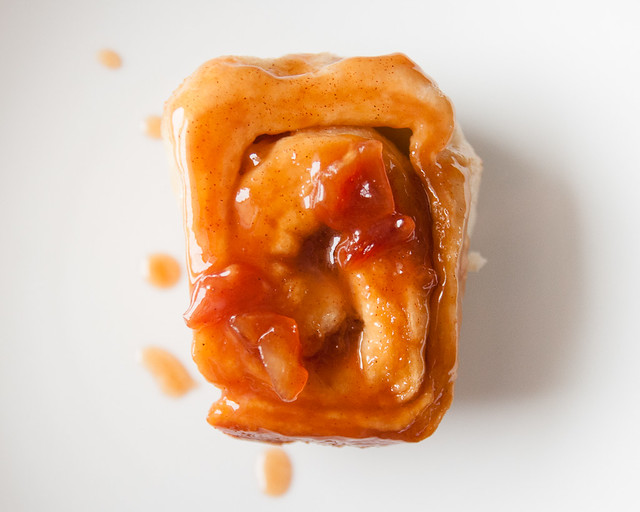
Before I get you too excited....this is *not* the roll of my childhood. There are a million cinnamon roll recipes out there already (including on this blog), so I wanted to show you something a bit different. Something that actually doesn't have a ton of cinnamon, but that does have a ton of rich, caramelized buttery-delicious flavour. And squishy yummy dough.
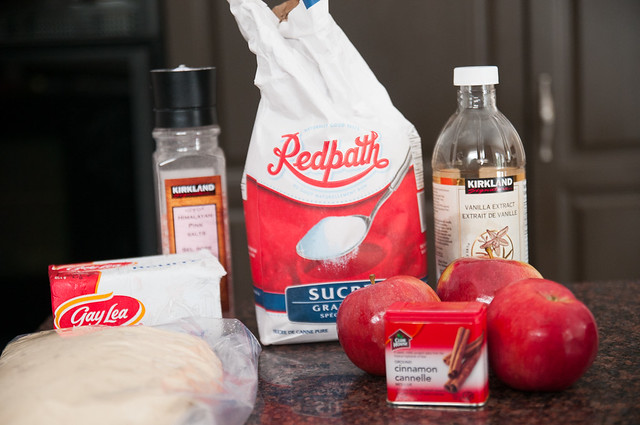
I took my inspiration from the classic French tarte tatin (also a recipe on this blog that you can check out). Tarte tatin has NO cinnamon, and is made from a delicious combination of caramelized sugar, butter and apples, topped with pastry, then inverted for serving. It's delicious, but messy to make, and there is always the risk that your inverting goes awry.

I had neighbours coming over for coffee, so I wanted something a little less risky, and a little more homey.
I thought the caramelized apple flavour would translate well to cinnamon rolls. I did include a little bit of cinnamon because I find that a little bit brings out the apple flavour really nicely. BUT, I didn't go crazy with tons of cinnamon, as I wanted those caramel and butter flavours to come through. Despite what a lot of recipes will tell you, there is a big difference between a brown sugar flavour and a true caramel flavour. Caramel that's made from white sugar being brought almost to the point of being burnt just has a more interesting flavour to me (not to say that brown sugar is bad....because it isn't), but I really love a good, bold caramel sauce made from an actual caramelization process.
The other aspect of this recipe I wanted to talk about was the dough. I personally think that a simpler, yeastier dough makes the best cinnamon rolls (no eggs, no butter). I see a lot of recipes out there that use all sorts of ingredients in the dough, but after trying a bunch of them, I definitely fall in the camp that a more traditional yeast dough is better. It stretches and squishes rather than flaking like a biscuit dough. This dough is sweetened, but you could easily omit most of the sugar and use the dough for something else. I like to use my KitchenAid to mix mine, but a food processor or your hands will also work just as well.
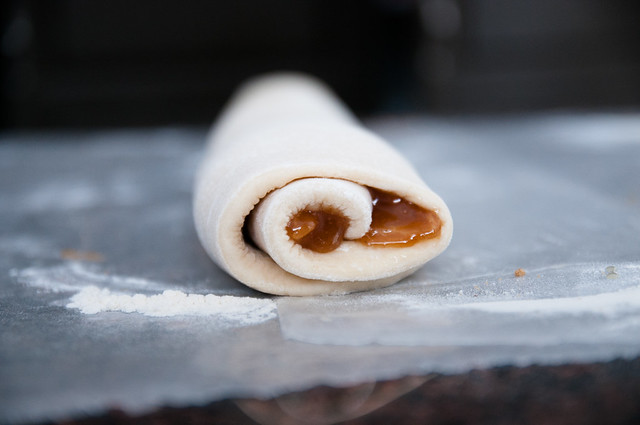
I've made this twice now and I'm pretty confident in saying that you'll love it if you try making it too. This is a longer project to make, and a bit more fussy than typical cinnamon rolls, but I swear it's worth the effort. You can also make the dough the day before and refrigerate it after the first rise and it will be fine (the batch pictured is made from the refrigerated dough).
A few notes on the making of these rolls.....
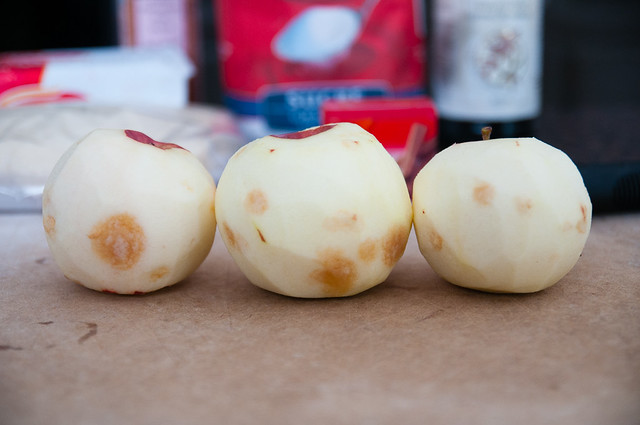
1. Bruised apples are fine. It's a good way to use up apples that maybe aren't quite so beautiful to eat alone. BTW, this is what happens when you let your two year old carry the apples.
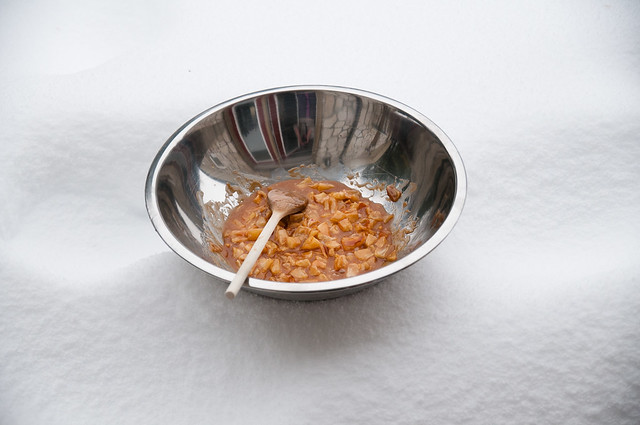
2. If you are impatient like me, the snow works really well for cooking down hot filling. There is a small upside to -15C. Bonus points if you spot me in my fancy jammies in the reflection. ;)
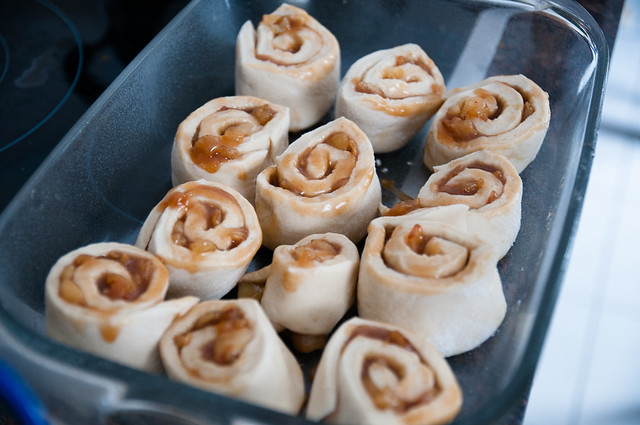
3. In terms of cutting cinnamon rolls, I find it easiest to cut the log in quarters, and then cut each quarter in thirds.
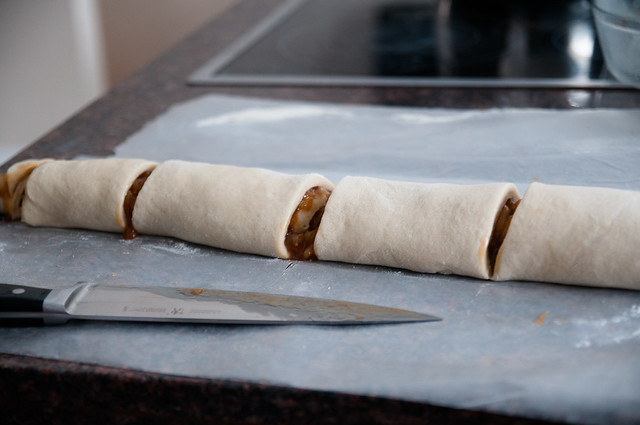
4. This is not to say that they end up all the same size (they totally don't). I'm okay with this....it means variety in serving size for the various members of the family. ;) It also means I won't be becoming a pastry chef any time soon.
Tarte Tatin Rolls
makes 12 plus one extra dough ball to be use as you see fit
dough
(basically Amish White Bread --> note that this recipe makes twice as much as you need. It will probably work if you halve it, but I haven't tested that!)
2 c. warm water
2/3 c white sugar
1.5 T quick rise yeast
1.5 t salt
1/4 T neutral vegetable oil (like canola)
1 t vanilla
6 cups all-purpose or bread flour (bread is best, but AP will work just fine)
1. Combine water, sugar, yeast, salt, oil, vanilla and 2-3 c of flour (you can do this in a mixer with a dough hook on speed 2, in a food processor with dough attachment, or in a large bowl with a spoon).
2. 1 cup at a time, add remaining flour. Keep mixing until all flour is combined, then mix/process/knead for 4-5 minutes. You want a really nice uniform, stiff dough.
3. Oil a large bowl, place the dough in it, cover it, and let it rise somewhere warm for about 1 hour (I like to use my oven with just the light on, because my house is cool. Make sure you don't turn the oven on while the dough is still inside....).
4. After first rise, punch down the dough (i.e., squish out the excess air) and divide it in two even-ish pieces. At this point, you can freeze or refrigerate one of them, or you can double the filling recipe below to make two pans.
filling
(I recommend making this while the dough rises, because then you'll have some time for it to cool, and you won't be forced to put your filling outside in the snow like I was)
3 medium/large apples (I used idareds....you'll want to use an apple that can hold its shape)
1/3 c butter (if butter is not salted, add a good pinch of sea salt)
1 c white sugar
1 T vanilla
1/4 t cinnamon (yes, you read that right)
1. Peel the apples and chop them pretty finely. The pieces need to fit easily inside the rolls, so you don't want big chunks of apple.
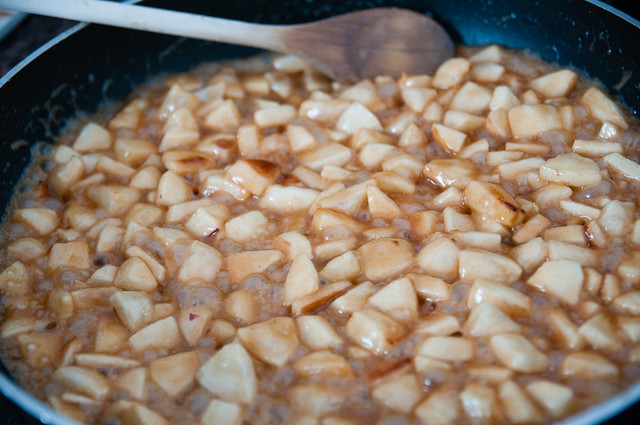
2. Preheat a large skillet over medium/medium-high heat. Add sugar, butter and apples and stir to combine. I started the sugar while I was still chopping my apples, so some of my sugar browned a bit early.
You'll want to keep stirring every minute or two. I recommend not adding the cinnamon right away, because the cinnamon can mask your ability to figure out when the apples start to caramelize. What's going to happen now is that your apples will cook, give off water, the sugar will melt and the butter will combine together. What you need to wait for are those first little wisps of smoke that tell you that the sugar is caramelizing.
So keep stirring every minute or two, stay close, and watch for the magic to happen (will probably take about 10-12 minutes). There will be a slight bitter aroma once the sugar caramelizes. As soon as you detect this, give the pan a stir, turn off the heat and remove the pan from the heat. Stir in the cinnamon. Then wait a minute or two, then stir in the vanilla (the boiling hot caramel mixture can cause the vanilla to spatter, so let it cool a little bit).
3. Cool the filling down. If you find that the filling is really thick, you can stir in a little bit of cream to loosen it up. You don't want it to be super runny though, because you need it to mostly stay *in* the rolls. The consistency of jam is ideal.
to make rolls:
butter for brushing dough (about 1/4 c)
2 T brown sugar
flour for dusting
1. Prepare your surface with a small dusting of flour, take half of your dough and roll it out in a rectangular-ish shape. I try to make it as even as I can, but as mentioned, I'm no pastry chef. I like to cover my work surface with wax paper because it can help with rolling up the dough. You want the dough to be relatively thin (1/3 inch or so, but don't sweat it too much), and the rectangle should be about 12x20 inches, give or take. TIP: If you find your dough difficult to roll out, take a break. This will allow the gluten to relax and if you wait 5-10 minutes, you should have an easier time of getting the dough to stretch to the desired size.
2. Brush the dough with melted butter (make sure to reserve some butter for brushing the rolls once they are cut), sprinkle the brown sugar over it.
3. Spread your cooled filling on top of the dough, leaving a 2-inch border on one of the LONG edges.
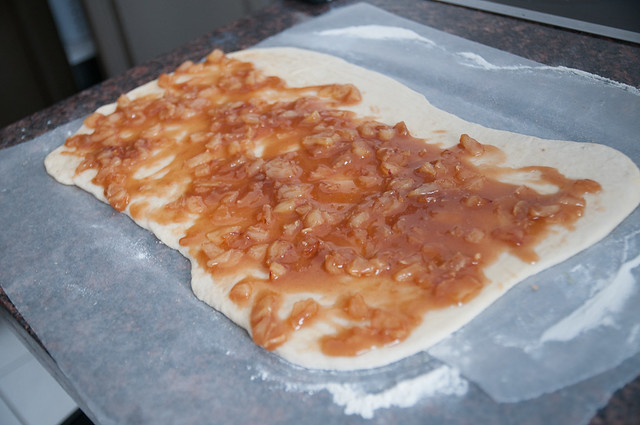
4. Start rolling your dough up from the long edge (where you DIDN'T leave the border) and do your best to pinch the dough closed. Don't sweat it if doesn't seal perfectly.
5. With your sharpest knife, cut the dough into 12 even-ish parts (see tip above). Some filling may leak out. Don't sweat it. You might also find it a bit difficult to cut through the filling if it is hardening. Don't sweat it - do your best. Transfer the rolls as best you can to a greased 9x13 pan. If they open up a bit, don't worry as they will rise and fill in the gaps.
6. Lightly brush the tops and sides of the rolls with the last of the butter (brushing the sides makes it easier to separate the cooked rolls).
7. If any of the caramel has leaked onto your prep surface, drizzle it on top of the rolls. Because caramel.
8. Cover with plastic wrap and let rise for about 30 minutes. They will get a bit bigger, but don't be alarmed if they are still on the small side.
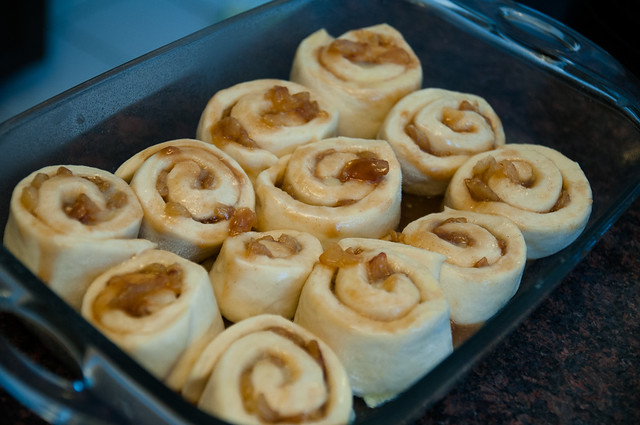
9. Preheat oven to 375F. Bake rolls for 25-30 minutes (I found 30 was best), until they are golden brown on top.
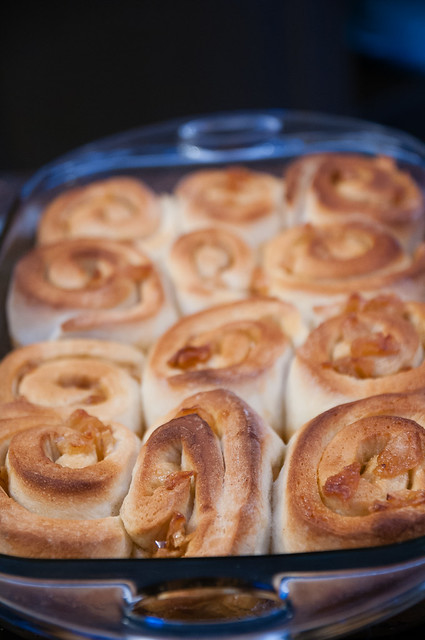
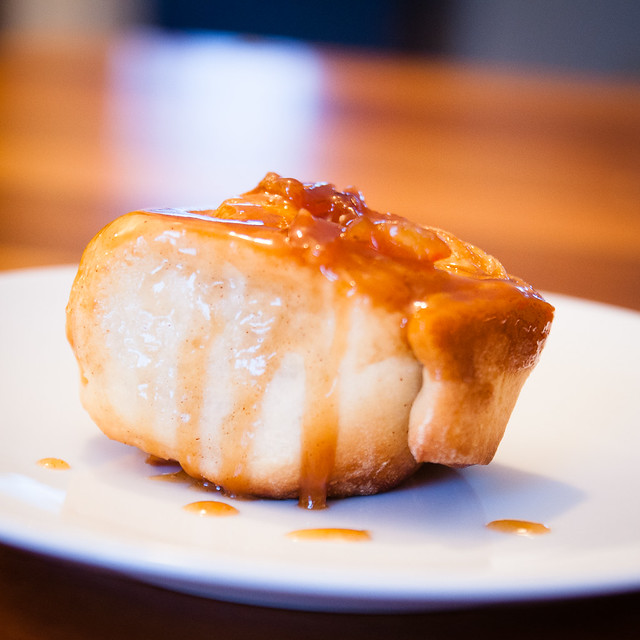
10. Serve each roll inverted (you could invert the entire tray if you felt ambitious....I didn't).
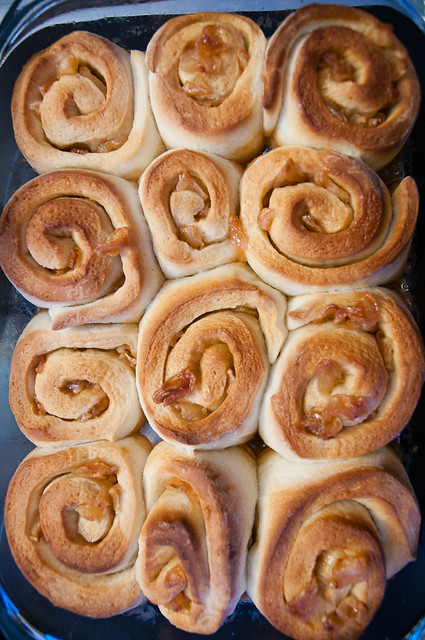
11. Enjoy the most delicious, caramel, appley, buttery taste you've ever had.
I know the instructions sound ridiculously long - it's really not a difficult thing to make. They just take a while and are best suited to a lazy weekend afternoon. And seriously. They are SO GOOD.
