winter seafood dinner party
Pin It Now!
I'll apologize in advance for the cruddiness of these photos - my camera battery (all four camera batteries, actually....) was, of course, toast when I went to take prep pictures (so there are none of those). And that's when the light was actually good.
So unfortunately, these pics are a result of overhead kitchen light. But I swear the food is just as delicious as normal, so read on......
I was having some friends over for dinner, and I wasn't really sure what to make - the only restrictions I had were no peanuts, and that one of the diners was not a fan of big bloody masses of meat. Fine by me anyway, as I'm pretty sure I'm supposed to be steering clear of steak tartare these days.
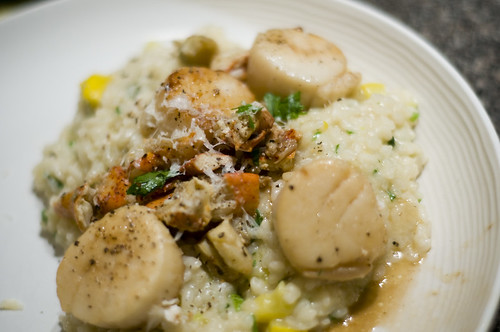
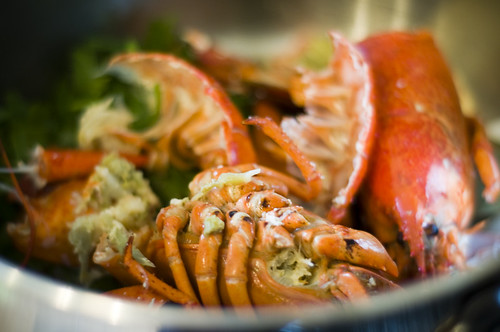
So I went with a seafood theme, and tried to stay a little bit seasonal (not that you can really eat *seasonal* food in Ottawa in January...).
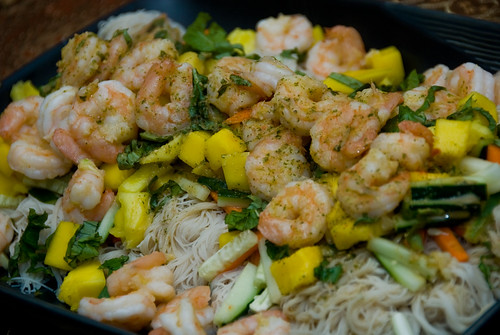
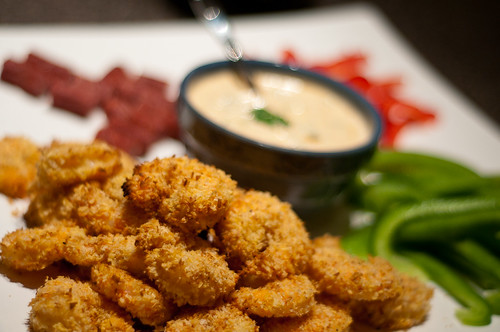
For an appetizer, I opted to make some coconut shrimp - I was inspired from a recipe in the Kraft What's Cooking holiday magazine (I know...heinous, but I was inspired, what can I say?). So I took out the Shake and Bake, and the pre-made sauce, and made my own version with panko and a sour cream sauce. It was really delicious, but the shrimp are best right out of the oven, so they are nice and crispy.
Before I get into this dinner party menu, just wanted to show you my snazzy new facebook page - just adding another way for you to keep up. I also add some content on there that you don't get on the blog or via twitter. More snark and links and that kind of thing. So it's toooooooooooootally worth liking. :)
So unfortunately, these pics are a result of overhead kitchen light. But I swear the food is just as delicious as normal, so read on......
I was having some friends over for dinner, and I wasn't really sure what to make - the only restrictions I had were no peanuts, and that one of the diners was not a fan of big bloody masses of meat. Fine by me anyway, as I'm pretty sure I'm supposed to be steering clear of steak tartare these days.
So I went with a seafood theme, and tried to stay a little bit seasonal (not that you can really eat *seasonal* food in Ottawa in January...).
For an appetizer, I opted to make some coconut shrimp - I was inspired from a recipe in the Kraft What's Cooking holiday magazine (I know...heinous, but I was inspired, what can I say?). So I took out the Shake and Bake, and the pre-made sauce, and made my own version with panko and a sour cream sauce. It was really delicious, but the shrimp are best right out of the oven, so they are nice and crispy.
I did find that the panko adhered well and really gave a nice crunch to the shrimp, which is unusual in a non-deep-fried appie. I served these with some venison pepperettes (courtesy of my bro), and some red and green pepper strips. I like to keep appetizers relatively light, and not too filling, because I just want to get people geared up for some gooooood eatin' later in the evening.
Coconut-Panko Shrimp
makes about two dozen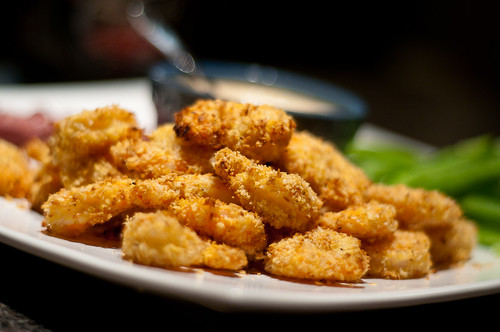
1 lb large shrimp (26/lb), peeled and deveined. Take off the tails, nobody eats them and they leave a mess
1 cup flaked unsweetened coconut, toasted (toast in a frying pan for 5-6 minutes on medium, stirring often and watching like a hawk)
1 cup panko
1 t curry powder
You can do all of the components in advance (i.e., the cauliflower, chopping the lettuce). I dressed each salad individually and this worked well.
Roasted Cauliflower and Radicchio Salad
2. Toss cauliflower with 1/4 cup oil, 1/2 teaspoon salt, and 1/8 teaspoon pepper in a large bowl. Spread in 1 layer in a shallow baking pan (1 inch deep) and roast, turning over with tongs halfway through roasting, until tender and golden brown, 25 to 30 minutes total. Cool in pan on a rack, then transfer to large bowl.
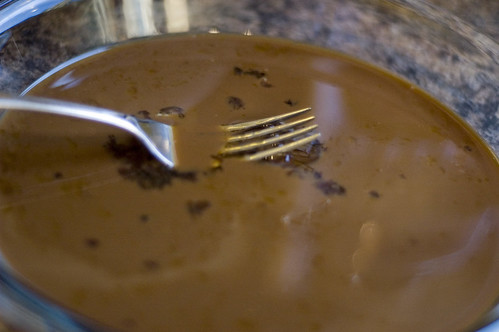
3. Whisk together vinegar, shallot, remaining 1/4 teaspoon salt, and remaining 1/8 teaspoon pepper in a small bowl, then add remaining 5 tablespoons oil in a slow stream, whisking until emulsified. (FYI - this does not emulsify...just whisk before drizzling)


Thanks for reading - and don't forget to check out DNM on facebook!
Coconut-Panko Shrimp
makes about two dozen
1 lb large shrimp (26/lb), peeled and deveined. Take off the tails, nobody eats them and they leave a mess
1 cup flaked unsweetened coconut, toasted (toast in a frying pan for 5-6 minutes on medium, stirring often and watching like a hawk)
1 cup panko
1 t curry powder
1 t garlic powder
dash cayenne pepper
salt and pepper
dash cayenne pepper
salt and pepper
1 egg, beaten
1/2 c low-fat sour cream
2 T indian curry paste
1/4 c chopped cilantro
1/2 c low-fat sour cream
2 T indian curry paste
1/4 c chopped cilantro
1. (If you are baking right after assembling, preheat your oven to 400F).
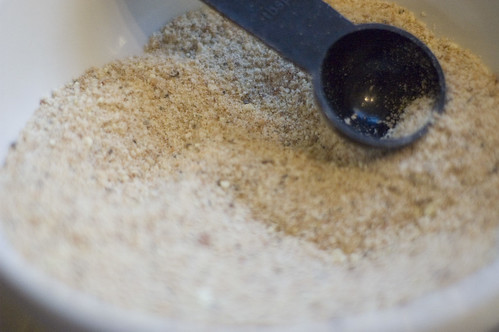
2. Combine coconut, panko and seasonings in a shallow bowl.
3. Dip shrimp in egg (I actually just tossed the whole batch of shrimp in with the egg because I'm lazy like that).
4. Coat shrimp in coconut-panko mixture until evenly coated. TIP: have one 'wet hand' and one 'dry hand' - use one hand to grab the slimy eggy shrimp and use the other to help toss/pretty the coating mixture. The coating will adhere better and you won't end up covered in eggy coconut goo.
5. Lay each shrimp on a baking sheet. Don't let them touch. I baked mine on a silpat.
6. Bake at 400F for 10-12 minutes. Mine were perfect after 10 minutes (just pick one and cut through to make sure it's pink and opaque the whole way through).
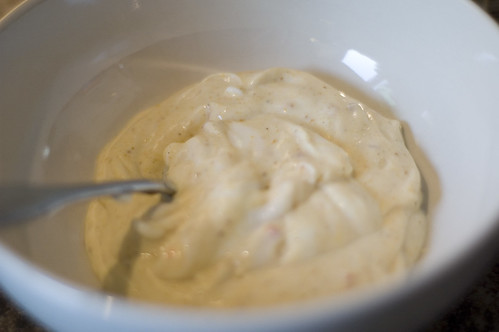
7. While shrimp is baking, mix together sour cream, curry paste and cilantro.
Enjoy! It's awesome and pretty easy to put together.
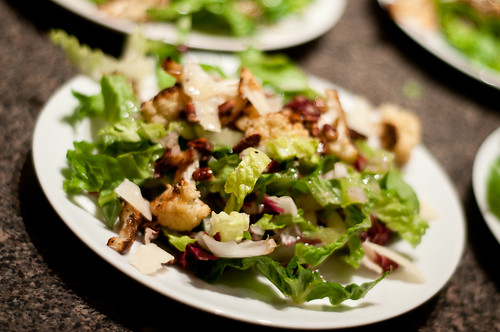
I came across a really intriguing roasted cauliflower salad recipe on epicurious, and pretty much followed the recipe exactly (though I halved it because it was a huuuuuuuuuuuuge recipe).
Half of the recipe was just about perfect for 6 appetizer servings. I'm sharing my version below, but I've linked to the original. I figure most people are likely to need 4-6 servings of salad, rather than 12ish.
You can do all of the components in advance (i.e., the cauliflower, chopping the lettuce). I dressed each salad individually and this worked well.
Roasted Cauliflower and Radicchio Salad
stolen and slightly modified from epicurious

1 small head cauliflower cut into 1-inch-wide florets
1/2 cup plus 1 tablespoon extra-virgin olive oil
3/4 teaspoon salt
1/4 teaspoon black pepper
1/4 cup white-wine vinegar
1 1/2 tablespoons finely chopped shallot
9 large leaves of romaine, cut crosswise into 1/4-inch-wide strips
1 small head radicchio, cut crosswise into 1/4-inch-wide strips
3/4 cup loosely packed fresh flat-leaf parsley leaves
1/2 cup toasted pecans, coarsely chopped
parmesan cheese for grating on top
1. Put oven rack in middle position and preheat oven to 450°F.
1. Put oven rack in middle position and preheat oven to 450°F.
2. Toss cauliflower with 1/4 cup oil, 1/2 teaspoon salt, and 1/8 teaspoon pepper in a large bowl. Spread in 1 layer in a shallow baking pan (1 inch deep) and roast, turning over with tongs halfway through roasting, until tender and golden brown, 25 to 30 minutes total. Cool in pan on a rack, then transfer to large bowl.
3. Whisk together vinegar, shallot, remaining 1/4 teaspoon salt, and remaining 1/8 teaspoon pepper in a small bowl, then add remaining 5 tablespoons oil in a slow stream, whisking until emulsified. (FYI - this does not emulsify...just whisk before drizzling)
4. Add romaine, radicchio, parsley and dressing to cauliflower and toss to coat. Season with salt and pepper and sprinkle with nuts and parmesan.
I loved the richness of the nuts and cheese with the deep roasted flavour of the cauliflower. The acidity of the dressing really made it fabulous. Great salad. It's a bit labour-intensive, but I think it's wonderful for fall/winter and would make a great meal with a grilled chicken breast or something.
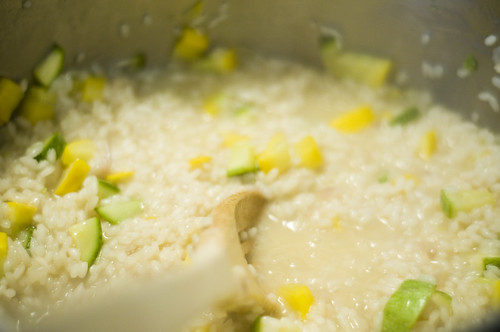
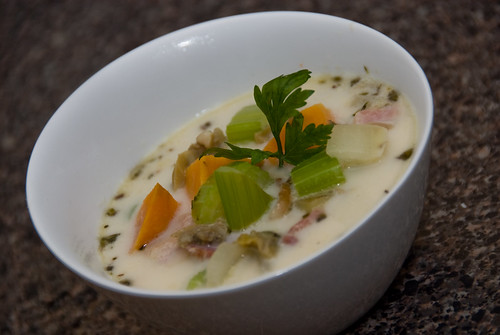
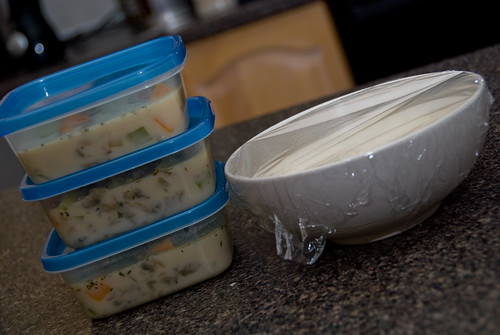
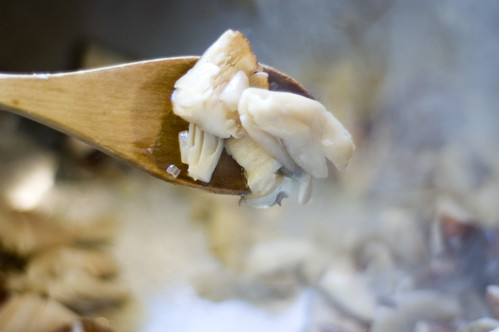
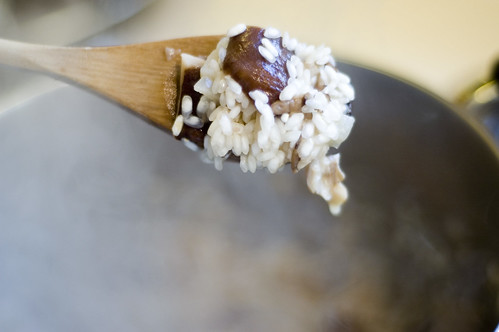
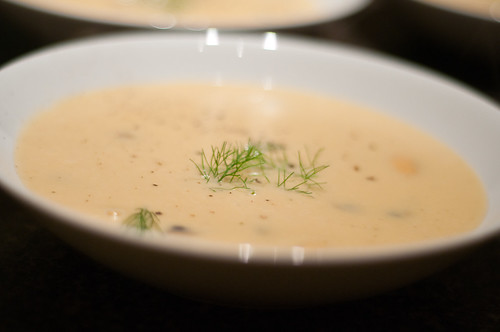
For soup, I went back to seafood.....I've made this mussel-fennel bisque before. I'm not going to re-post the recipe here, because I make it pretty much EXACTLY as written.
The only changes I recommend is just including all of the fennel in the soup itself, and skipping the browned fennel cubes (too much work). I think you could also reduce the cream by half. The seafood broth with rice is so rich on its own that I don't think 1 c of heavy cream is fully necessary. It's so yummy though. I love this soup. It's rich and delicious and really just the perfect seafoody-indulgence. With bread and salad, it would make a great meal.
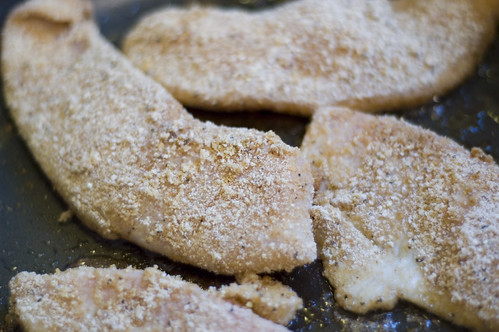
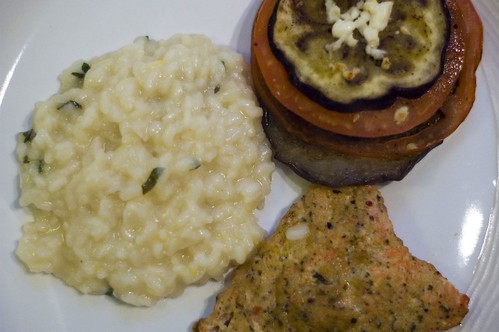
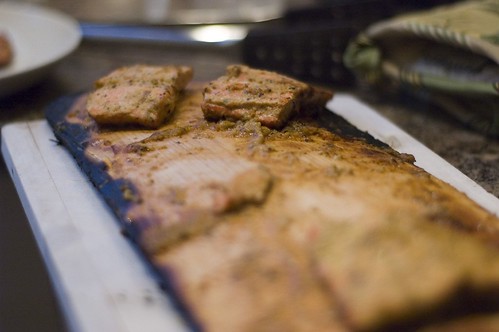
For the main, I had some salmon hanging around in my freezer and so that's where I started. I ended up with another epicurious winner, this salmon fillet recipe with a creamy horseradish sauce. I just made a few small changes (I baked my salmon at 400F for 12 minutes, because I"m lazy and because my bbq is under about a metre of snow and ice. Baking is great for dinner parties, because you just pop the dish in the oven, and then go back to your guests - no fuss! I marinated the salmon for about two hours, which was great.
I can also attest that the leftovers are PHENOMENAL made into a salmon salad - I just combined my leftover salmon with the leftover sauce, added some minced onion/green pepper/celery and it was perfection in a sammich. YUM. I'd make this again - it's super easy and quick to come together and the sauce was delicious.
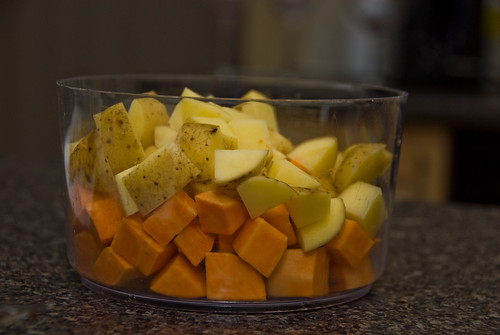
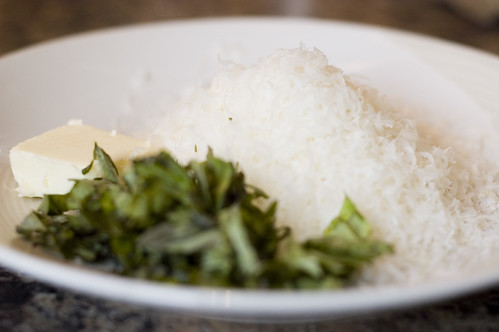
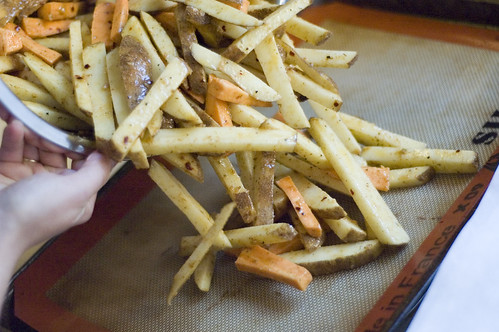
I served the salmon with this butternut squash dish - it's simple squash wedges, roasted in olive oil, salt and pepper, and drizzled with balsamic vinegar, sprinkled with pepitas and mint. It was a simple dish, but I really liked it as well. I think the serving estimate is a bit low (4 people ate most of the squash), but I also baked my squash over an hour to get it nice and soft and caramelized.
That said, I have a squash PSA. WEAR GLOVES WHEN CHOPPING BUTTERNUT SQUASH. The internets have not come to a consensus on why this is, but with some squash and some people, skin will react. After I chopped the squash, the fingers on my right hand started feeling numb. Then they started feeling tight. And swollen. It really kinda freaked me out. And then the skin that was feeling tight cracked in about a million places (sorry, I know that's gross). It seems it's like some sort of chemical coming from the squash that did it to me. Anyway, the moral of the story is....wear your damn gloves when you chop that squash. And then you can avoid freaking out about your bizarre reaction. #learnfrommyfail
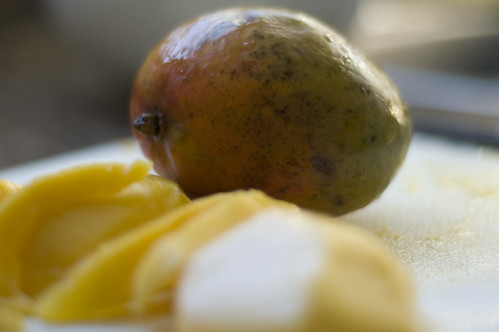
Last, I wanted to finish with something pretty simple, and on the lighter side of desserts. I've made passionfruit pavlova before, so I just made a variation of it this time and it was sooooooooo fabulous.
I followed a different meringue recipe this time, and I think the oven temperature was too high....my meringues really did brown quite a bit. But they were still yummy, so I don't think it was a big deal. Also, rather than filling with whipped cream, I opted to fill with the most decadently delicious coconut yogurt in the world. Even at nearly 10% fat, I figured it was a lighter choice than the 35% whipping cream. And man, it's sooooooooooo good. Instead of a simple passionfruit drizzle, I added some pureed mango (just 3/4 of a large mango, a bit of superfine sugar, and a splash of water, pureed together) to amp up the volume. Passionfruits are $3/each and don't really give a whole lotta pulp each. It was a great balance and the tropical flavour of the passionfruit really came through nicely. I would make this again and again. Perfect easy dessert.
So that's my menu....I wanted to keep it on the simpler side, and not ultra-indulgent. I thought it balanced really well and the flavours were really good. YUM. Any of these recipes would be great as part of another menu as well.
Thanks for reading - and don't forget to check out DNM on facebook!