Photobucket - Video and Image Hosting

Sunday, June 12, 2011

bbq tastes of summer

Pin It Now!
DSC_0720

One of the many things to love about summer is that you just can't go wrong when you invite people over for a barbecue. Nobody expects anything fancy (most are content with burgers and hot dogs), and anything you do that's a bit outside of the box looks extra fancy as a result.

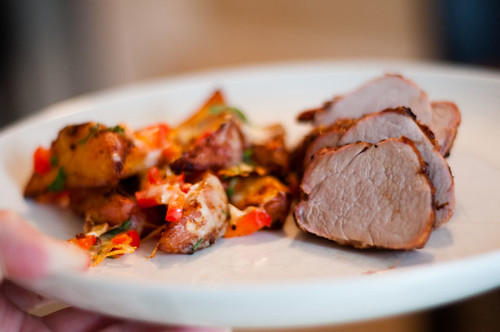
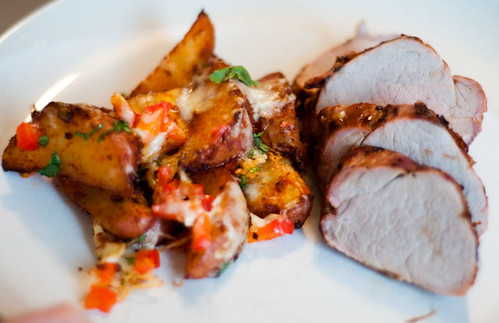
For example, tonight's dinner was nothing crazy - bbq'd pork tenderloin, roasted potatoes, salad and dessert - but having a little fun with the execution of the dinner made it super delicious.

Of course, things would have been helped had hubs not practically petrified the pork on the grill (you know that memo from the FDA last week, where they said it was safe to cook pork to 145F? hubs burned it). I was surprised that despite it's inner temperature reading of 180F (no, not joking), some parts of the pork were still not bad.....definitely not juice, but still edible. The thinner parts were chewy and hard (yuck), but the thicker middle parts were workable.

I'm so obsessed with cooking magazines that I took the chance to use two of my latest - June 2011 Clean Eating and Early Summer 2011 Food & Drink - they absolutely did not disappoint, and you'll see the recipes for southwestern cheddar potato wedges, salad with endive, feta, avocado and mint, and passionfruit pavlova following. They were all such delicious twists on ordinary...I felt compelled to share them.

DSC_0730

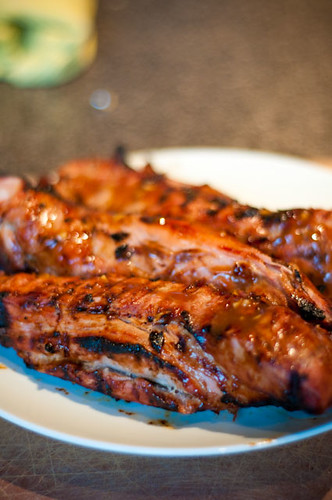
For the main, I opted for an asian-inspired (more pan-asian than any specific geographic location, hehe) pork tenderloin. Aside from charring, I thought the recipe would have benefited from longer marinating. I marinated about 3 hours, but I think that the flavours would have better permeated the pork with an overnight marinade. It was good though...I mean really, when there are meat and fire....it's hard for anything to be especially bad.

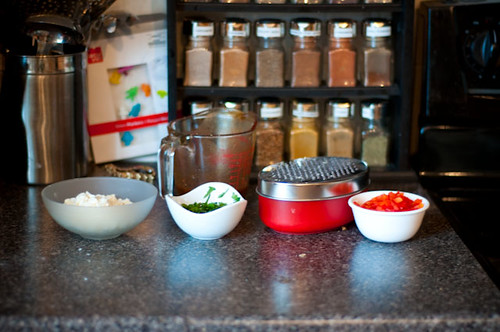
A little tip, when you are entertaining, make sure you have all of your garnishes ready to go before company arrives. In this instance, I had crumbled feta, cilantro, glaze for meat, grated cheddar and minced red peppers ready to go for last minute additions. It makes you look more organized and makes the whole meal flow a lot better.

DSC_0711

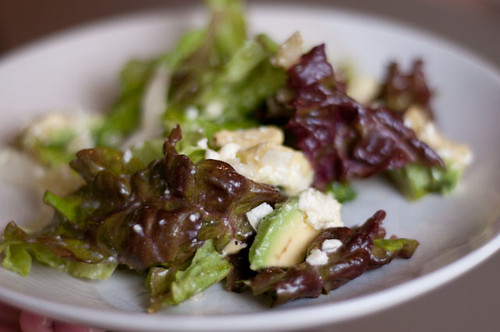
Honey-lime dressed salad with avocado, endive, mint and feta
DSC_0723
from Early Summer 2011 Food & Drink (will be online here soon)
As soon as I saw this combination of flavours, I knew it would be delicious. It's light and yummy and fresh...the mint adds that little bit of something extra, and it's all wonderfully balanced with the rich avocado, bright mind, sharp feta and yummy honey lime dressing all playing off each other. Can't go wrong with this. I'm sure it would be fine without the endive though - it was good, but you wouldn't be missing anything if you felt like not buying endives)

DSC_0703

DRESSING:
1/4 c olive oil
3 T lime juice
1 T honey
2 t dijon mustard
1 small garlic clove, minced
salt and pepper

SALAD:
1 large belgian endive (optional, I think)
1/2 cup mint leaves
8 cups greens (I used red leaf lettuce, baby spinach or mixed greens would work well)
1 large ripe but firm avocado, sliced
4 oz feta, crumbled

1. Combine dressing ingredients. Set aside (can be made in advance and fridgified)

2. Slice endive in half lengthwise. Cut out and discard core. Thinly slice. Coarsely tear mint leaves.

3. Combine salad ingredients in a large bowl. Toss. Add dressing. Toss. Eat immediately (will not keep).

Delicious. I think it would be great with a grilled chicken breast on top, or with a nice piece of fish, if you wanted to make the salad into a meal on its own).

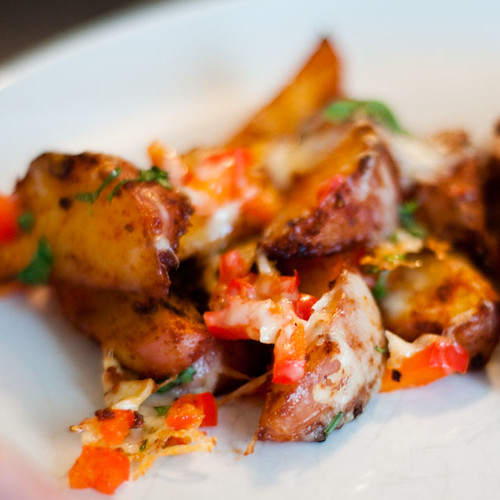
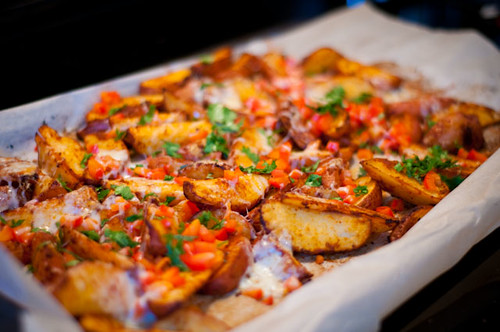
Southwestern Cheddar Steak Fries
DSC_0719
stolen and lightly modified from the June 2011 issue of Clean Eating

Potatoes are inherently yummy, so it's hard to go wrong, but this is like the love child of a potato skin and a roasted potato....and it's actually not too bad for you. YUM. I reduced teh amount of smoked paprika (and subbed sweet spanish paprika) because I find that smoked paprika tends to completely dominate all recipes. A little bit goes a long way. If you don't have smoked paprika, you could get some smokiness by using smoked salt, a drop of liquid smoke or some chipotle powder. I think they would be good even without the smoke though.

DSC_0705

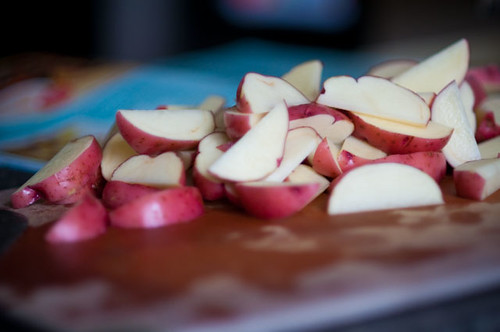
1 lb red or yukon gold potatoes, scrubbed and cut lengthwise into wedges
1 T olive oil
1/2 t smoked paprika (I used bittersweet)
1.5 t sweet spanish paprika (not the cheap grocery store stuff)
1/2 t ground cumin
1/2 t garlic powder
1/4 t sea salt
1 oz finely shredded aged cheddar
1/3 c finely chopped red pepper
2 t minced cilantro

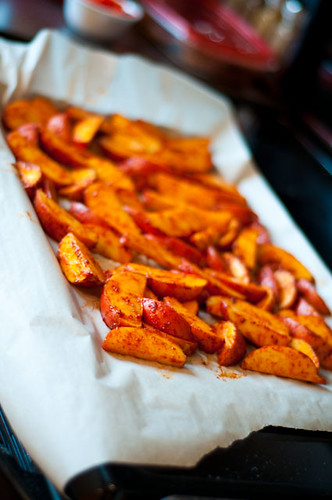
1. Preheat oven to 425F. Line a large baking sheet with parchment paper/silpat. In a large bowl, combine oil with paprika, cumin, garlic and salt. Toss potatoes with spice mixture. Place potatoes in a single layer on the baking sheet.

DSC_0710

2. Bake in centre of oven for 10 minutes. Flip and stir potatoes, and bake for another 10 minutes.

3. Remove potatoes from oven and sprinkle with cheese and red peppers. Bake another 5-7 minutes. Sprinkle with cilantro and serve immediately.

DSC_0714

Asian-inspired grilled pork tenderloin
DSC_0713

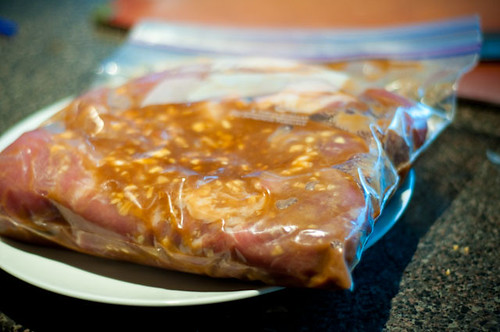
I've changed this recipe a little bit, because I like to marinate my pork to infuse the flavours a little more. I would marinate this overnight for maximum yum factor.

1/4 c hoisin sauce
2 T lemon juice
1 T dijon mustard
1 T honey
1 T toasted sesame oil
1 T low-sodium soy sauce
1 T grated ginger
1 T minced garlic
[1 t lemon zest....I omited because I juiced my lemons and was too lazy to zest them after]
2 pork tenderloins

1. To make marinade/glaze, combine all ingredients except pork in a bowl. Mix. Pour 2/3 of marinade over pork. Reserve the rest of the marinade to use as a glaze/sauce.

2. Let pork marinate 24 hours (I say this is crucial...mine only marinated for 4 hours and the flavours were not permeated enough).

DSC_0707

3. Grill pork to desired doneness (FDA recommends a temperature of 145F, with a rest time of at least three minutes). Brush pork generously with marinade during laste five minutes of cooking. As mentioned above, hubs grilled to a temp of 180F. I let it rest for 10 minutes....it was still edible, but I think anything over 160F is really kinda overdone. Slice into thin slices and serve.

You could use this same recipe with either pork chops or chicken pieces and I think it would be equally great. The leftovers are awesom in stir fry, or in wraps or on salads. I was lucky enough to find pork tenderloin at half price today, so we royally stocked up.

DSC_0717


Passionfruit pavlova
DSC_0734
from Early Summer 2011 Food & Drink (will be online here soon)

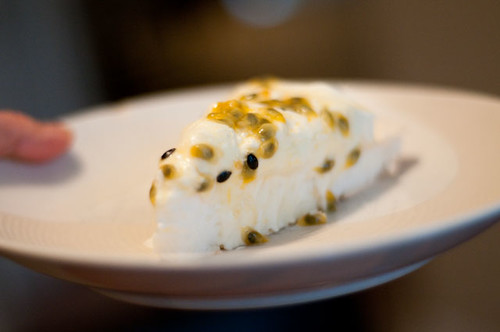
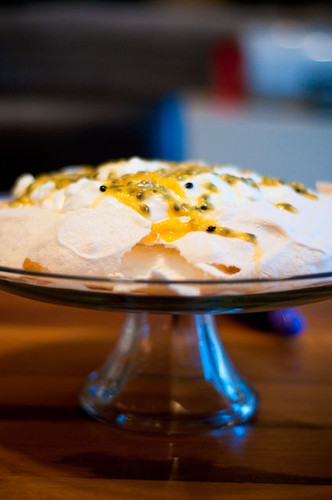
I've written about pavlova before....for the uninitiated, it is a dessert consisting of a baked meringue, whipped cream and fruit. This is a relatively simple pavlova, and I think it's incredibly delicious. That said, I also found it too sweet, so I'm providing a recipe NOT based on what I actually made, but tweaked slightly to proportions that I am confident would yield a more balanced dessert.

Overall though, this is amazing...passionfruit is one of the most wonderful flavours in the entire planet - it's so intoxicatingly tropical....if you've never tried if before, this would be a most decadent initiation.

MERINGUE:
4 large egg whites at room temperature
1/2 t cream of tartar
3/4 c superfine sugar (just take regular and whiz it in the food processor)
1 t cornstarch
1 t white vinegar

CREAM & FRUIT
1 c whipping cream
2 T sugar
1 t lemon zest
1 T lemon juice
2 ripe passion fruit

1. Preheat the oven to 250F (120C).

2. Trace an 8-inch circle onto a piece of parchment paper using a marker. Line a baking tray with the parchment paper, marker-side down (so the marker does not get on your meringue).

3. Whip the egg whites and cream of tartar until they are foamy. Slowly pour in the sugar while whipping and continue whipping on high speed until the whites hold a stiff peak and the sugar is dissolved (no longer feels gritty between your fingers). Fold in the cornstarch and vinegar.

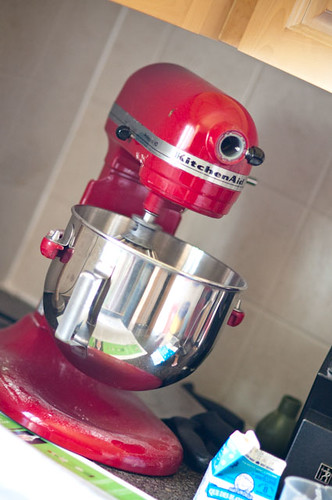
This is the point where I'm thankful to have my beautiful Kitchenaid mixer:
DSC_0696


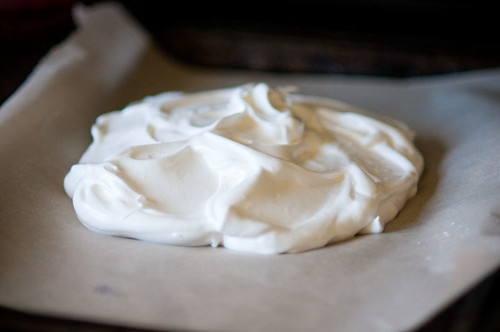
4. Spoon the whites onto the parchment paper and try to make them look snazzy with a spatula. I tried and failed, - you can see.

DSC_0698

5. Bake the meringue for 75-90 minutes, until the exterior is dry, cracking the oven door if the merinque starts showing signs of browning (I think mine browned a bit....it was still delish). Once out of the oven and cooled, the meringue should feel dry on the outside and peel away from the parchment paper easily. If still a little soft, return to the 250F oven for about 10-20 minutes. Cool the meringue on the tray before removing.

6. Whip the cream into soft peaks and beat in the sugar, lemon zest, juice and chill.

7. Just before serving, spoon the whipped cream over the meringue, and spoon the passion fruit seeds over the meringue - all you have to do is cut the fruit in half, stir the seeds with a spoon, and drizzle over top.

Voila. Tropical perfection. Slice and serve like a cake - serves 8.

DSC_0728

One final tip, given that this is a bbq-themed post. You can bbq bacon. Go do it and thank me later.

That is all.

Monday, May 16, 2011

something seriously good for meatless monday - lentil tacos and chocolate chickpea cake

Pin It Now!

I'm not sure why it is, but there's something about the combination of a crunchy shell, spicy filling, rich cheese, and bright notes of cilantro that just call to my soul. You can cobble together pretty much anything vaguely Mexican/South American/Tex-Mex/South-Western, and I will probably like it.


DSC_9448

I grew up with Old El Paso Taco kits (as I'm sure did a large portion of my readership...if not, you can read about them here - essentially a box containing taco shells, taco mix and some sort of taco sauce. Just add meat, lettuce and cheese and voila.). I liked them as a kid, but when I was a teenager, our family discovered fajitas, and frankly, there was no looking back. We raced ahead with our soft tortillas, grilled chicken and steak, and the lowly crunchy taco of our youth was forgotten in some cobweb-ridden corner of our minds.

Ever the nutritionally obsessed, I actually always thought that the soft shells were better for you than the tantalizingly crispy hard corn shells. (For my American readers, you have to understand that corn tortillas are few and far between in most parts of Canada). In recent years, I've made sure that my shells were 100% whole grain, usually opting for the Dempsters Ancient Grains type. A small tortilla (7 inches - you know you're going to eat at least two!) has about 100 calories, and features such stellar ingredients as whole wheat flour, flax, millet, spelt, kamut, barley, etc. It also features such not-so-stellar ingredients as glucose-fructose (that's Canadian for high-fructose corn syrup), sodium acid pyrophosphate, potassium sorbate, sodium propionate, monoglyceries, sodium stearoyl-2-lactylate, fumaric acid, cellulose gum, carrageenan, maltodextrin. And maybe sulfites.

Even if most of those ingredients aren't actually BAD, I just don't think so many ingredients are NECESSARY. I like shorter ingredient lists, most because I feel the food is then closer to what I could make at home. :) They also have 230 mg of sodium, so if you eat two (and seriously, you will), you've got 520 mg of sodium before you've even put anything in your fajita.

So I decided to go for a blast from the past (for me, at least) and try out hard taco shells. I was pleasantly surprised by a few things...first, the ingredient list was relatively short - corn flour, palm oil, salt, water and calcium hydroxide.

Even though there is palm oil, two stand n stuff shells (bigger than classic shells) have 130 calories, 6 g fat (2.5 g sat fat), 115 mg of sodium and 1 g fibre. The soft tortillas do getter on fibre and a bit better on fat, but 130 calories vs. 200 calories, and 115 mg sodium vs. 520 mg sodium...this makes the shells a solid contender. They certainly aren't any hard-core sort of health food, but they certainly aren't too bad either. I'm in.

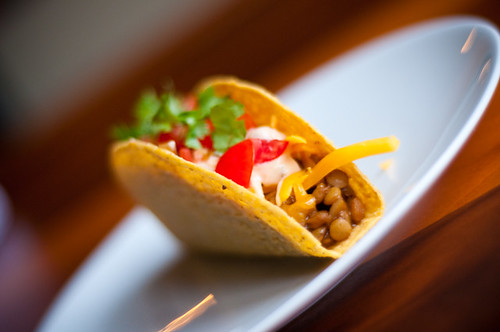
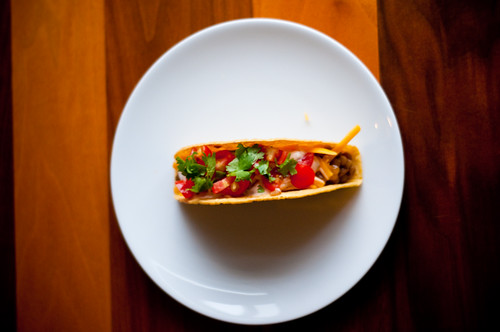
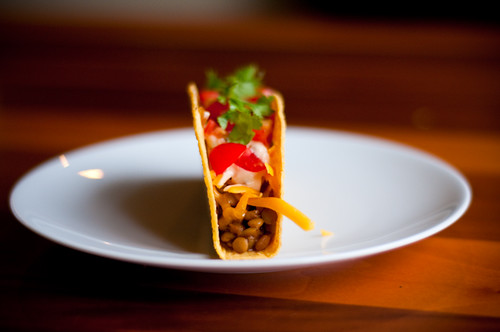
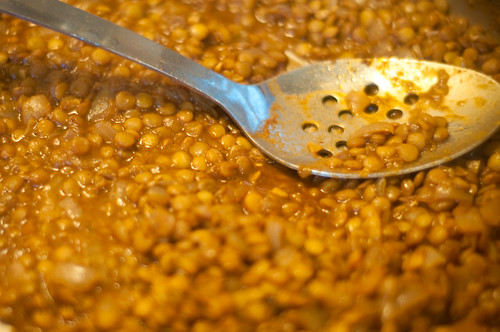
Especially when you fill them with the most delicious filling of spiced lentils.

Yes, I realize this is madness.

Do lentils really belong in tacos? Can they really hold their own against the meaty deliciousness of seasoned ground beef?

DSC_9444

And surprisingly....they can. YUM. If you've a hankering for something meatless and wonderful, this meal is perfect. THe lentils are warm and delicious, and the spicy chipotle sour cream is the perfect creamy yet spicy foil. I've modified the recipe quite a bit from the epicurious original, but I think the end result is pretty darn delicious.

Make it now!!!

spiced lentil tacos
DSC_9437


1 tablespoon olive oil
1 cup finely chopped onion
1 clove garlic, chopped
1/2 teaspoon salt
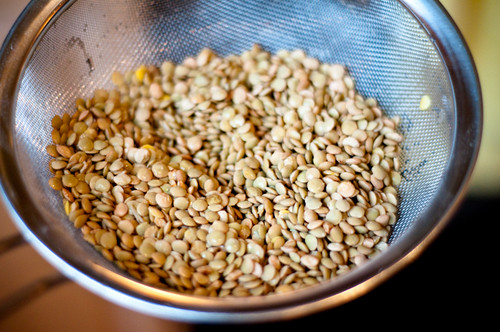
1 cup dried brown or green lentils, rinsed
1 T chili powder
1 t cumin
1 t ground coriander
1 t paprika (sweet, not smoked)
pinch cinnamon
2 1/2 cups water

1/2 cup reduced-fat sour cream
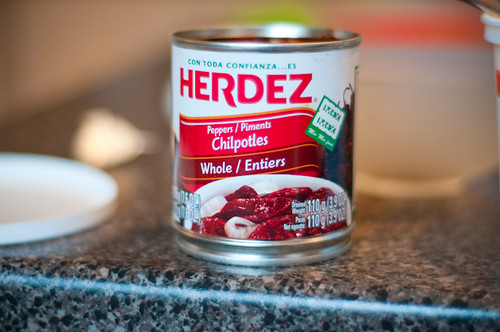
1 chipotle chile in adobo sauce, finely chopped***
2 teaspoons adobo sauce
DSC_9419

8-10 taco shells
1 1/4 cups shredded lettuce/greens (I used cilantro)
1 cup chopped tomato
1/2 cup shredded cheddar

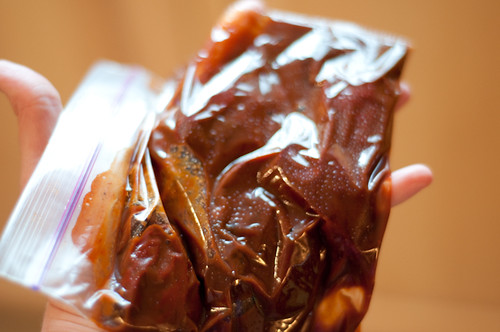
***What to do with leftover chipotle in adobo (which, unless you are a sword-swallowing fire-breather, you probably cannot down in one sitting)? I dump the contents of can into a freezer bag, and freeze it all flattened out. Next time you make this recipe (cuz there will, naturally, be a next time), just break off a pepper and off you go!

DSC_9425

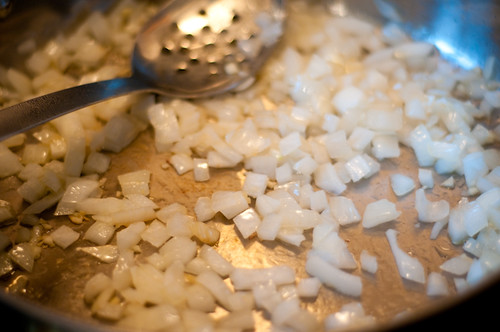
1. Heat oil in large skillet over medium-high heat. Cook onion, garlic and salt until onion begins to soften, 3 to 4 minutes.

DSC_9415

2. Add lentils and spices.

DSC_9414

Cook until spices are fragrant and lentils are dry, about 1 minute. Add water; bring to a boil.

3. Reduce heat, cover and simmer until lentils are tender, 25 to 30 minutes.

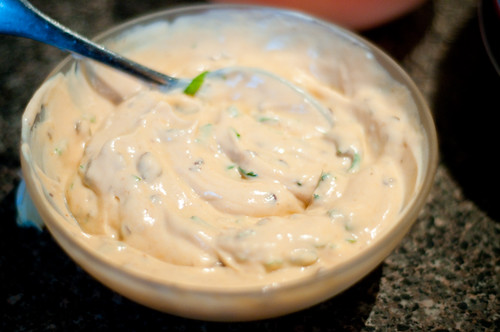
4. Meanwhile, Mix sour cream, chile and adobo sauce in a bowl.

DSC_9428

Uncover lentils and cook until mixture thickens, 6 to 8 minutes.

DSC_9432

Spoon 1/4 cup lentil mixture into each taco shell (my taco shells needed 5 minutes in a 350F oven. Check the label on yours to see if they do too!). Top with 2 heaping teaspoons sour cream mixture, greens, tomato and cheese.

YUM. So good.

That said, I thought that these stand n stuff taco shells would be a good idea. Alas, the broader base exponentially increases the amount of filling that goes blasting out as you take your first bite. Behold:

DSC_9456

Stick with the normal shells - less mess, fewer calories. And as long as you don't go running around taking pictures of your dinner like a crazy person food blogger, you should be fine.

After dinner, I made the most random cake recipe. I came across this chocolate chickpea cake recipe while browsing on Serious Eats (SUCH an awesome site). It was just so weird....chickpeas, chocolate, no flour, no oil...how could this be possible?

DSC_9480

And I'm no stranger to incorporating legumes into my baking (witness: the bean cookie) This was just too weird not to make. Even better, I actually had all the ingredients on hand (hubs tucked some yummy 85% dark chocolate from Laura Secord into my Mother's Day gift...smart, smart man).

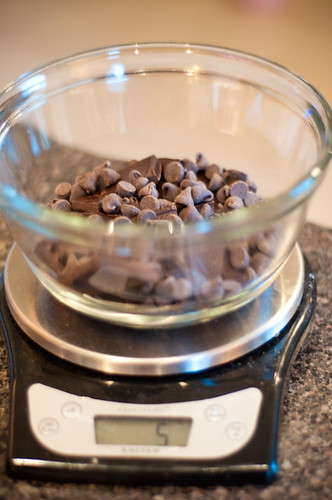
The cake is uber easy to throw together. Melt the chocolate in the microwave, and whizz the rest of the ingredients through the food processor. The best part was not having to use flour...I swear, every single time I take out my flour, it's like some evil little flour gnome has run up inside and carefully placed a whole bunch in the rolled-up top of the bag, just perfectly positioned to explode onto my [black] counter top in a white, powdery testament to my kitchen failures. Meh.

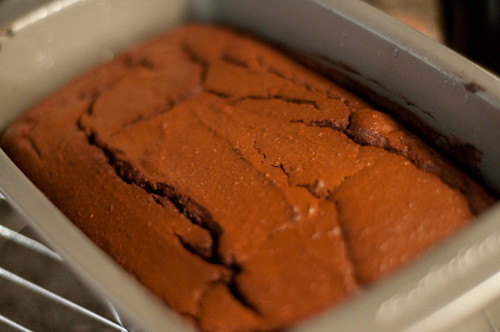
This was so easy. I baked the recipe for 50 minutes instead of 60 (though my oven was on convection). I think I'd check it at 45 minutes next time. Also, because I had no butter and was too lazy to 'flour' my pan with cocoa [relying instead on a brush of canola oil] my cake stuck a bit. You could eliminate this problem entirely by baking in a parchment paper lining. Alas, I was too lazy.

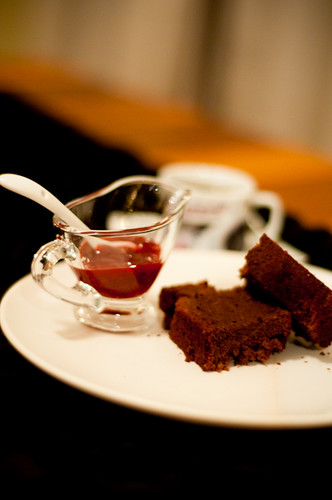
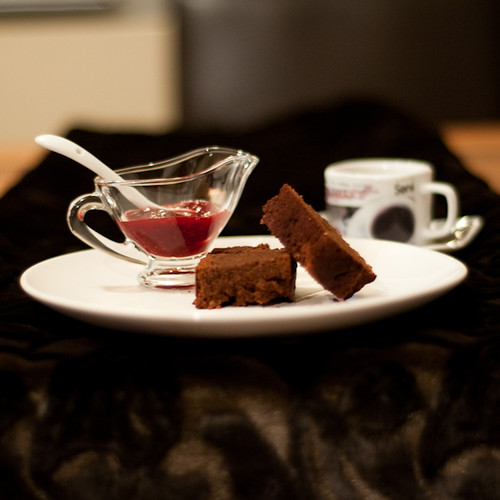
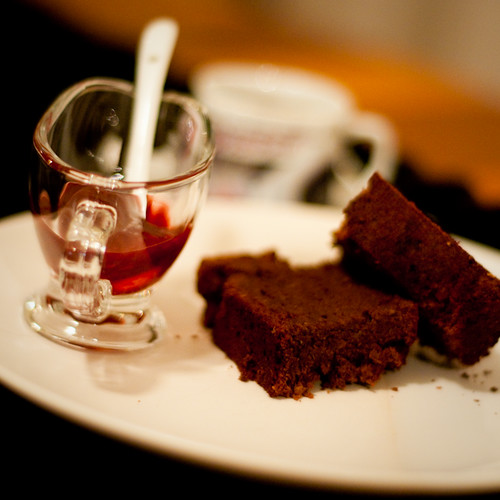
The results are a really delicious chocolate loaf...I wouldn't serve it for dessert on its own, I don't think (although topped with ice cream and chocolate sauce, with raspberry coulis, it would probably pretty fantastic). It's a great nibbling cake. The chocolate flavour (from mostly 85% cocoa, with a small handful of chips and one small square of 70%) is rich and deep and the cake is not too sweet. It lacks the soft squishy richness of a classic shortening/white flour loaf, but I don't think that's a bad thing.

I think I will be having cake for breakfast. :)

chocolate chickpea cake
DSC_9487

1 tablespoon butter, softened (or oil)
2 tablespoons cocoa powder (skipped it)
5 oz chopped bittersweet chocolate or chocolate chips (I used 3.8 oz 85%, 1 oz semi-sweet chocolate chips and 0.5 oz 70%)
1 (19-ounce) can chickpeas beans, rinsed and drained
4 large eggs
1/2 teaspoon vanilla extract (optional)
1/2 cup granulated sugar (I used raw cane sugar)
1/2 teaspoon baking powder
1/2 teaspoon salt


1. Adjust oven rack to middle position and preheat oven to 350°F. Grease interior of 1 pound loaf pan with flour, then dust all surfaces with cocoa, tapping out extra.

2. In a large microwave-safe bowl, melt chocolate by microwaving in 45-second intervals, at 50% power, stirring with a rubber spatula each time until melted. Alternatively, heat, stirring constantly, over double boiler until melted.

DSC_9460

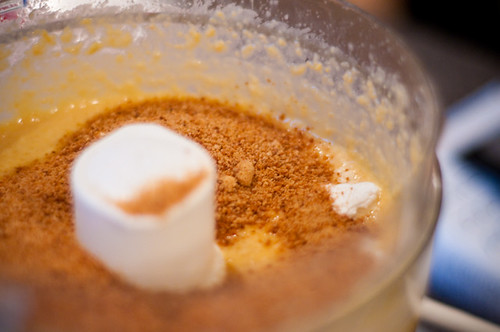
3. Puree beans, eggs and vanilla in a food processor (or using an immersion blender) until smooth, about 1 minute. Add sugar, baking powder and salt and blend to combine, about 20 seconds.

DSC_9462

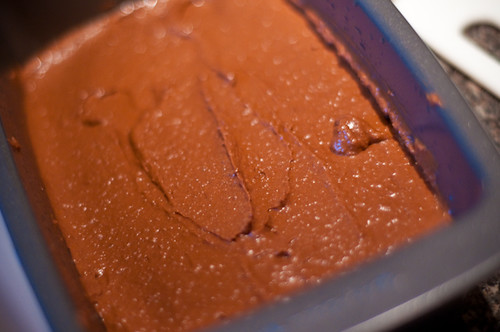
4. Add melted chocolate and blend to combine, scraping down sides of bowl well as necessary. Batter will have a thick, pudding-like consistency.

DSC_9465

Transfer batter into prepared pan and bake until knife inserted in center comes out clean, about 45 minutes.

DSC_9467

5. Allow cake to cool for 15 minutes on wire cooling rack before inverting onto serving platter. Cool completely. Dust with confectioner's sugar just before serving. Mine only stuck a little bit! (this is an achievement for me).

DSC_9480

Thanks for reading! If you're interested in more meatless monday ideas, check out the Meatless Monday website.

DSC_9476

PS - sorry for the cruddy low-light photos. Sadly, I blog in the real world and thus far, the sun has not yet listened to my pleas to hold off setting until I've finished cooking. ;)

Saturday, April 30, 2011

melty savoury goodness - tuna melts

Pin It Now!

DSC_8875

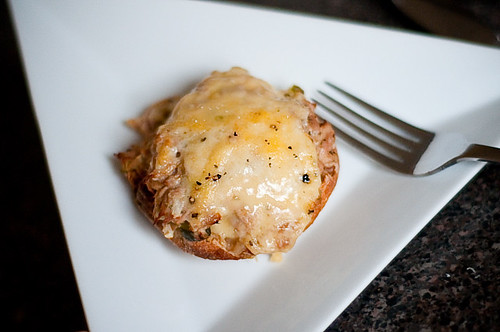
I may occasionally have the palate of a pre-schooler, but I just absolutely love tuna melts. It's one of my favourite treats to make - the perfect lunch for a rainy afternoon, or a quick easy dinner on a day when I don't feel like cooking.

One of my favourite things about these sandwiches is they are super versatile and forgiving; you can make them work no matter what you have in the house. As long as you have bread + tuna + cheese, you can probably figure something out.

DSC_8878

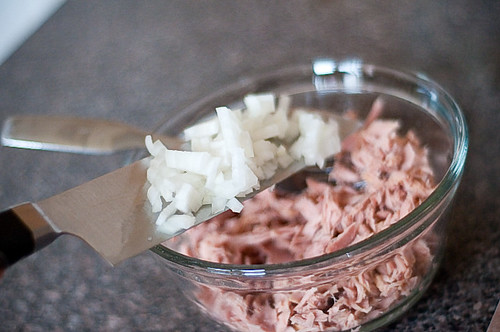
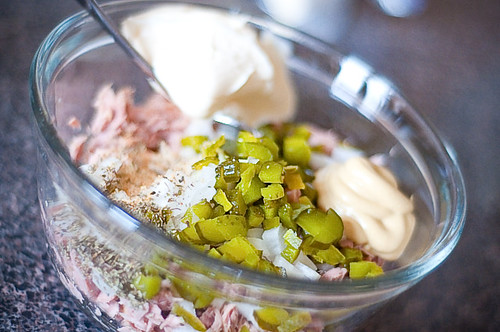
I like to add some saltiness and crunch to mine, so I tend to put in whatever chopped up veggies I can wrangle up (in this case, gherkins and onion, on other cases, celery, green pepper, shallots, sundried tomatoes, capers). And last, you just need some sort of binding agent. I usually use a mixture of light miracle whip and dijon mustard, but I've done it with yogourt, sour cream and even a simple vinaigrette. So you really can always figure something out.

You can whip these sandwiches together in about 10 minutes. Do it now, and thank me later.

easy-peasy tuna melts
(can be infinitely varied to suit your needs and audience)
DSC_8876

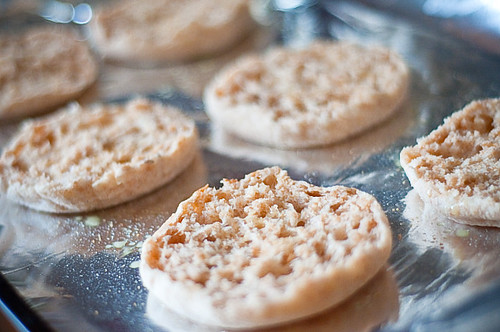
3 English muffins (my favourite bread...buns and sliced bread work too)

2 cans low-salt light tuna
1/3 c finely chopped onion (or shallot)
1/3 c finely chopped pickles (or other veggies --> celery, green pepper, sundried tomato, etc)
3 T light miracle whip
2 T dijon mustard
pepper

DSC_8872

cheese (I think I used cheddar and parmesan, but any cheese that melts reasonably well will work)

1. Spread your English muffins out on a foil-lined baking sheet (there will inevitably be cheese melting carnage...save yourself the scrubbing!). Preheat your broiler.

DSC_8871

2. Toast the English muffins under the broiler (about 6 inches from the heat source) for 2 minutes or so. Keep a close watch on them!

3. Meanwhile, combine the tuna salad ingredients. Taste - and season accordingly. If the mix is too dry to hold together, add a little more miracle whip/dijon.

DSC_8873

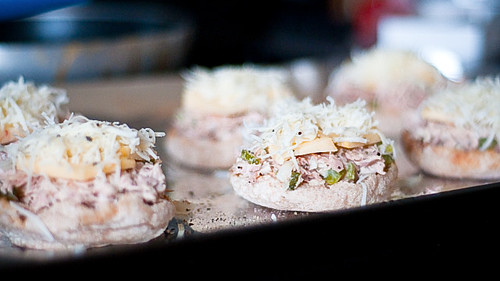
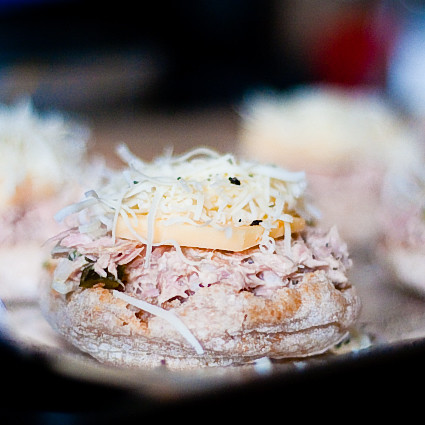
4. Top each toasted English muffin with tuna salad mix (I like to heap mine pretty generously, so two cans seems to be about perfect for six English muffin halves).

5. Top with cheese - I used slices of cheddar and grated parmesan. Any mix of grated/sliced would work.

DSC_8874

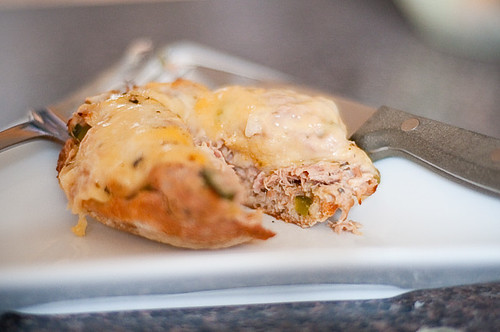
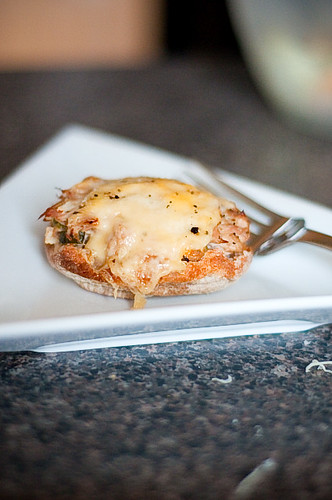
6. Cook under broiler for 3-4 minutes (checking every minute) until cheese is nice and melted and slightly brown.

7. Let cool slightly.

Enjoy! OMNOMNOMNOMNOM. These are so yummy. Very retro, very easy to make and just a fabulous lunch.

DSC_8877


Wednesday, April 27, 2011

some housekeeping...

Pin It Now!

...and goodness knows, my house could use it!

You may have noticed a few changes around here lately...part of the problem of starting your blog in 2006, is that in 2011....it looks like you have a blog from 2006. :p

Now, I'm no designer, and I certainly am not about to hire one, so you'll just have to deal with my little tweaks as I bring this blog up to date....so here's what's goin' on:

1) I changed the colour scheme (a couple of weeks ago). No more burgundy. I'm sure your burning eyeballs are thanking me.

2) I've added some easy options for you to subscribe. In addition to Google Friend Connect, I've also added RSS and email subscriptions via feedburner. (second widget from the top right). Now you don't have to remember to go through your bookmarks and physically come to the site - you can get new post notifications right in your email inbox.

3) I've started adding printable versions of my recipes. It's not fancy, like you'll see over at some other blogs, or on the pro-cooking sites, but if you want a photo-free, quick black and white print, it should do the trick.

4) New email address - leslie at definitelynotmartha dot com (sorry, gotta make the spammers work if they're going to invade my inbox). Hate mail, love letters, recipe ideas, whatever - I'm happy to hear it and I do my best to respond (I usually do!). If I don't respond, it's not because I'm a stuck-up diva...it's mostly because trying to balance full-time work, part-time work, parenthood, wifedom and blogging sometimes leave me in a bit of a tizzy. No hard feelings?

5) As the new email address indicates, I've got my own domain now! You can change your bookmarks to http://definitelynotmartha.com . Eventually this change will be reflected in the address bar, but I'm just not enough of a tech genius to make it happen quickly.

6) I briefly pondered adding a 'jump' to my post, but a short-lived poll overwhelmingly showed that readers do not like this. I don't like it either. So I won't be doing it. BUT, in order for the homepage to be a little less pic-heavy, I'm shortening it to five posts instead of 10. *I* don't need the jump, because one thing that won't be changing is that I still don't run ads on my blog. Unless I miraculously become so super famous that it would be ridiculous not to have ads, I'm just not willing to do it for a teeny amount of income that would just mess up my taxes. I hate forms and I hate taxes and I also hate ads. So none of that here.

7) Comment moderation - not on new posts, but I've had to add this to older posts (older than a month, right now) because I kept getting aphrodisiac-hawking douchebags filling the comments with spammy linky garbage. I won't censor anything but spam, and I do try to moderate one or twice a day, so there isn't a long wait to be part of a discussion. I do get emails of comments on my old posts, so if you have a question, don't hesitate to ask!

8) Layout....this will slowly evolve soon. I'm going to have to enlist hubs' help because my crowning design achievement was figuring out how to make my main column 500 pixels wide to accommodate my photos. I want to add a third column, but this has thus far eluded me. Stay tuned.

Anyway, feel free to check out the new feed features, print new recipes (eventually I would like to add printable versions of the older recipes, but oy...that's a big laborious job....).

So there you have it. Oh, also I ordered pizza for dinner tonight. Cooking fail. :p

Monday, April 25, 2011

brunch: sweet, savoury, rich and healthy

Pin It Now!

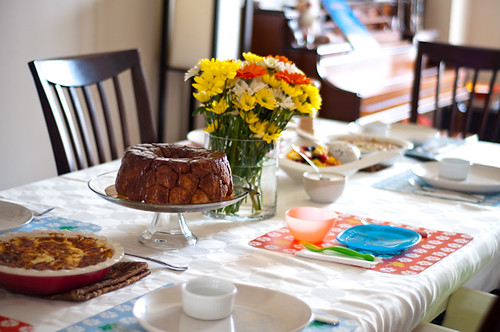
To me, sweet, savoury, rich and healthy are the essential building blocks of a delicious brunch. I really love making brunch, because it gives you the chance to something a sweet and indulgent (like cinnamon buns, pastries, scones, croissants) and balance it with savoury flavours, either healthful (slimmed-down broccoli cheddar quiche) or not so much... (quiche lorraine). I like to finish brunch with a nice fruit salad.


For my morning-after Easter brunch, I had the challenge of having made a (last-minute) big dinner the night before, so I didn't have any time to prep anything in advance. I chose everything in the menu because it could be thrown together relatively quickly, and would also hold quite well.
I'm a huge fan of quiche and strata-type dishes because you can mix them together in advance, bake them, and then they stay good for quite a while. I actually will sometimes mix one up at the beginning of the week and then nuke it for a quick breakfast later on. When it comes to quiche, I am utterly and completely sold on the crustless variety. It's not just because I am really terrible at making pastry, but I find that I like the filling SO much better and the crust really doesn't bring anything to the table (refined flour, fat and salt...none of which we really need). I prefer to limit my indulgence to the filling. :)

DSC_9205

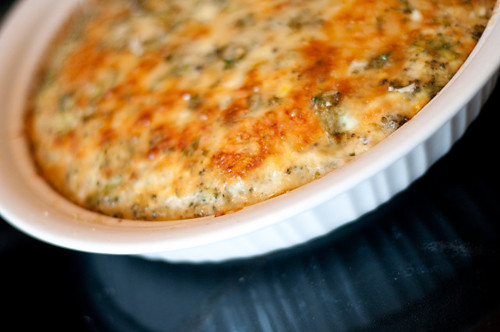
These types of dishes are also great because you can really make them super healthy, or make them more indulgent. For this brunch, I decided to make a broccoli cheddar crustless quiche. This was a healthier recipe from Cooking Light, though I didn't really follow it to the letter (I don't believe in throwing out egg yolks!). For the more indulgent recipe, I found an absolutely exquisite crustless quiche lorraine recipe on epicurious. I do recommend a couple of tweaks, as I found the resulting quiche could have benefited from an extra egg (it was a little watery....but still yummy).

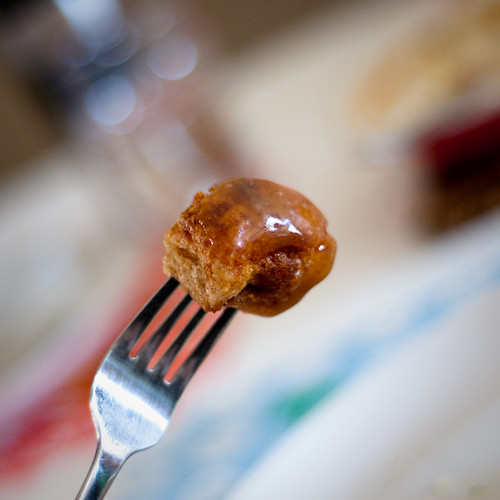
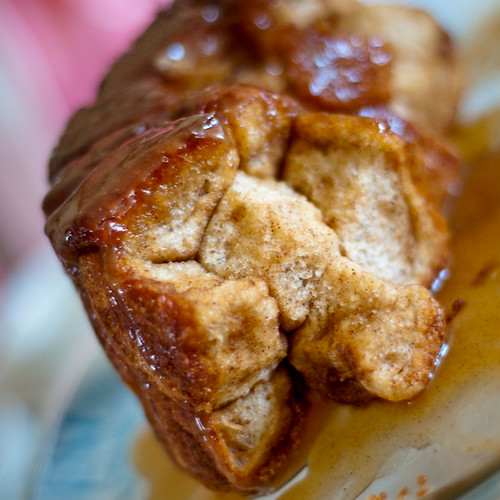
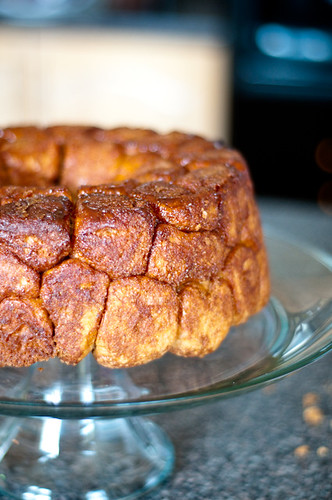
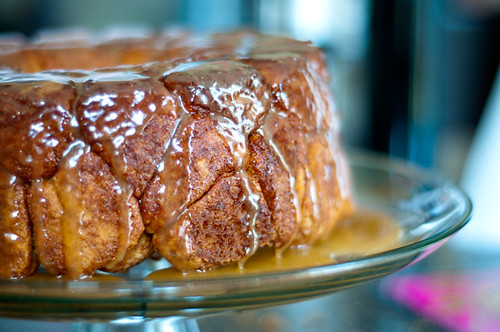
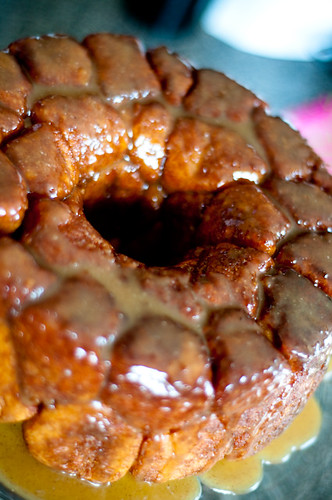
The sweetness of the meal came from what one of my guests dubbed "the love-child of a timbit and a cinnamon bun" - monkey bread with caramel glaze.

DSC_9217

I've been hearing about monkey bread for a few months now, and it seems this 50s mainstay has made a comeback of late. I couldn't find a recipe that was quite what I wanted, so I've taken inspiration from a few different versions and come up with my own - a half-whole wheat, spiced version covered in an exquisite caramel glaze (the glaze being a last minute addition because I felt the bread looked a little drier).

DSC_9214

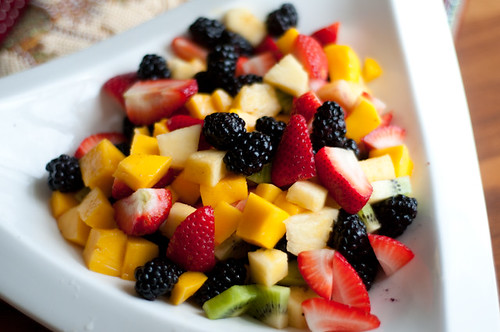
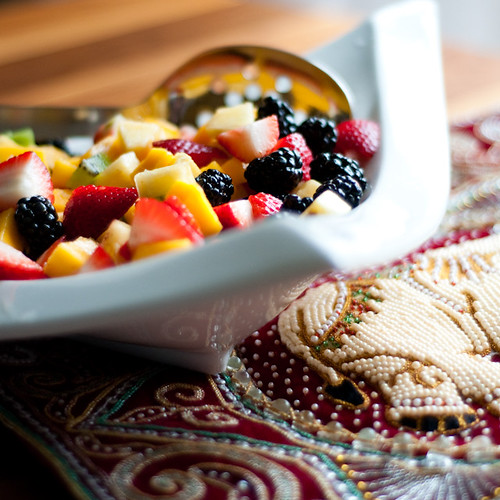
To round out the meal, I served a tropical fruit salad - the key to a pretty fruit salad (rather than a sad-looking bowl of browned apples and squashed bananas) is to try to include fruits in bright colours, and make sure they won't brown (apples and pears brown quickly. I hate bananas and find they overpower fruit salads, so I never use them). Oranges work well, as long as you're willing to take the time to suprême them. Nobody likes an errant membrane in their fruit salad. Blech. I have a tropical fruit weakness, which is, I realize, TERRIBLE for my carbon footprint....

tropical fruit salad
DSC_9177

1 mango, diced
1 kiwi, diced
1/4 pineapple, diced
2 cups diced strawberries
1 cup blackberries

1. Chop fruit.

2. Combine. No need to add anything more. This is a delicious, healthy addition to any meal.
DSC_9166

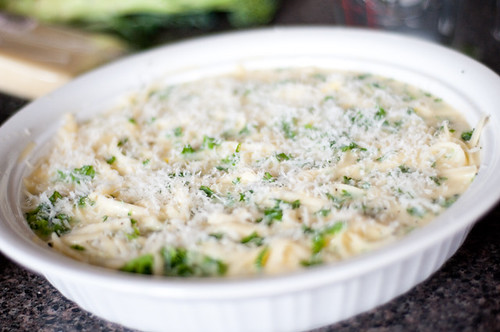
Crustless Broccoli and Cheese Quiche
DSC_9179

2 teaspoons olive oil
1/2 cup vertically sliced onion
1 garlic clove, minced
5 cups broccoli florets
Cooking spray
1 1/4 cups 1% low-fat milk
1 cup (4 ounces) shredded cheddar cheese
2 tablespoons chopped fresh parsley
2 teaspoons Dijon mustard
1/2 teaspoon salt
1/4 teaspoon freshly ground black pepper
4 large eggs lightly beaten
1 tablespoon grated fresh Parmesan cheese

Preparation

1. Preheat oven to 350°.
2. Heat oil in a large nonstick skillet over medium-high heat. Add onion and garlic; sauté 1 1/2 minutes. Add broccoli; sauté 1 minute. Spread broccoli mixture into a 9-inch pie plate coated with cooking spray. Combine milk and next 8 ingredients (milk through eggs) in a large bowl. Pour milk mixture over broccoli mixture; sprinkle with Parmesan.

DSC_9157

3. Bake at 350° for 40 minutes or until top is golden and a knife inserted in center comes out clean; let stand 5 minutes.

This quiche is very tasty and super easy to throw together. I cut mine into eight pieces, because I was serving two quiches to seven guests (this way, everyone can have a piece of each!). If it's all you're serving, you'd probably want to cut in six pieces.

Crustless Quiche Lorraine

Makes 4-6 servings
Active Time: 10 min
Total Time: 30 min (not including cooling)

1 1/2 tablespoons fine dry plain bread crumbs
1 cup chopped onions
1 cup diced cooked ham (1/4 pound)
1 tablespoon unsalted butter
1 (8-ounce) package shredded Swiss cheese (2 cups)
5 large eggs (original recipe calls for four...use five!!!!)
1 cup heavy cream
1 cup whole milk

1. Preheat oven to 350°F with rack in middle.

2. Butter 9-10 inch pie plate/quiche dish, then sprinkle all over with bread crumbs.

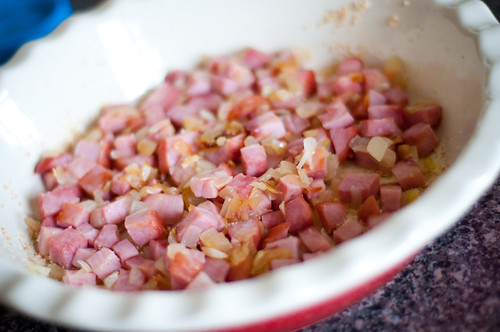
3. Cook onions with ham in butter in a skillet over medium-high heat, stirring occasionally, until pale golden, about 5 minutes. Spread in dish, then evenly sprinkle cheese on top.

DSC_9155

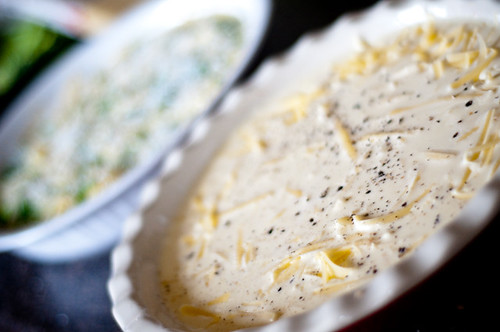
4. Whisk together eggs, cream, milk, and 1/2 teaspoon pepper and pour over cheese.

DSC_9156

Bake until top is golden and custard is set in center, 35-40 minutes***

5. Cool slightly before cutting into wedges.

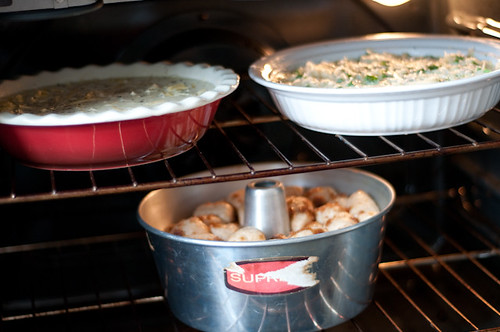
***Note that the initial recipe called for cooking at 425F for 20-25 minutes. I had two other things to bake that necessitated a 350F oven, so I just modified. I liked the results. Also, I love the convection function on my oven - even with two quiches and a batch of monkey bread, everything ended up evenly and perfectly cooked. Score!

DSC_9162

half whole-wheat monkey bread with the ultimate salted caramel glaze

dough:
**you could substitute any dough - frozen, refrigerated, or any dough recipe of your choosing
1 1/2 c all purpose/bread flour
1 1/2 c whole wheat flour
1 package quick yeast (2 1/4 teaspoons)
2 t pumpkin pie spice (or combo of cinnamon/cloves/allspice/ginger)
1/2 c milk
1/2 c water
4 T sugar
1 T oil
1 egg
1/2 t salt

1. In a stand mixer, combine flours, yeast, pie spice and salt.

2. In a small saucepan (or in the microwave) heat milk, water, oil and sugar until a thermometer reads 110-120F (warm but not burning) and sugar is dissolved.

3. Add milk mixture and the egg to the flours and process with dough hook (or stir with strong arm!). Once everything is all combined, you should have a soft dough - it should be a tiny bit sticky, but not ridiculously so. If there is too much flour, add a little more milk. If the dough is a liquid, sticky mess (more likely), add more flour, about 2 T at a time. Knead/process dough for a couple of minutes.

4. Transfer dough to an oiled bowl, turn to cover with oil. Cover bowl tightly with plastic wrap and place somewhere warm to rise for an hour. I like to put mine in the oven with the light on. Out of the way, and nice and warm.

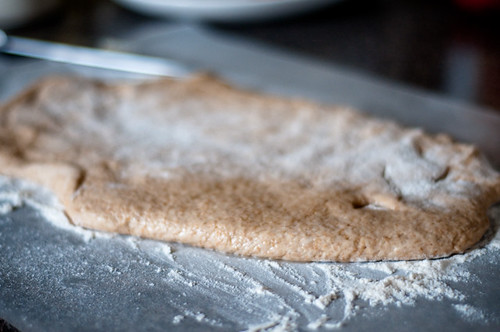
5. Sprinkle work surface with flour (I like to cover mine with waxed paper so I'm not stuck scrubbing dough bits off the counter). Spread dough out into a large rectangle.
DSC_9137

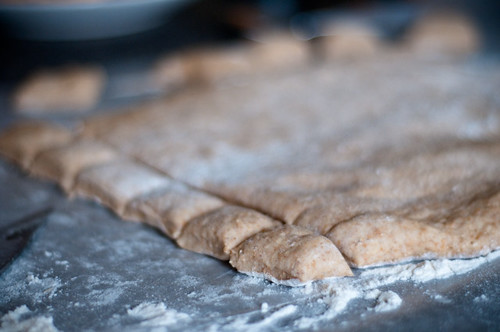
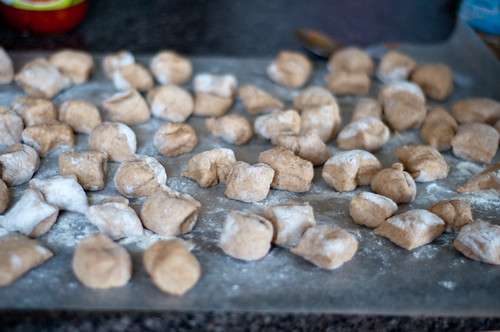
6. Cut into 70-ish pieces - about 1 inch diameter...this is not an exact science though.

DSC_9139

I just use a butcher knife. I leave my pieces mostly rectangular...you could try to make them more ball-like, but if you just plump the sides of the dough rectangles, they get round enough for me.

DSC_9140

glaze for dough balls
1/2 cup butter (unsalted), melted and cool enough to get your fingers in.
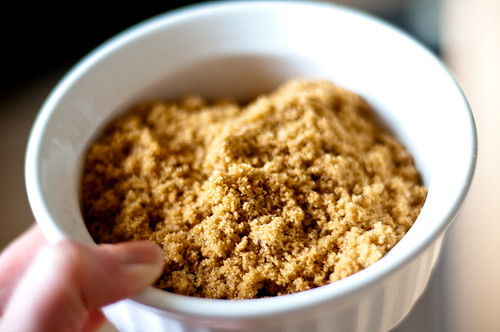
1 1/2 c brown sugar (I used dark brown)
2 t cinnamon

1. Combine sugar and cinnamon. Take a tube/bundt pan and butter/grease it.

DSC_9138

2. Dip each dough ball into butter. Let excess run off (you can try using a fork for this...it's a messy process no matter how you do it.

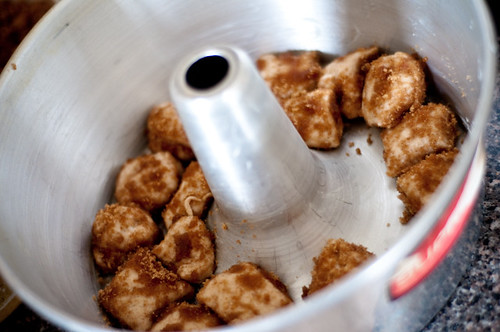
3. Cover dough in brown sugar/cinnamon mixture. Place in tube pan. Continue. I found that most of the way through, my brown sugar was reduced to a buttery paste. Whatever. It still worked.

DSC_9148

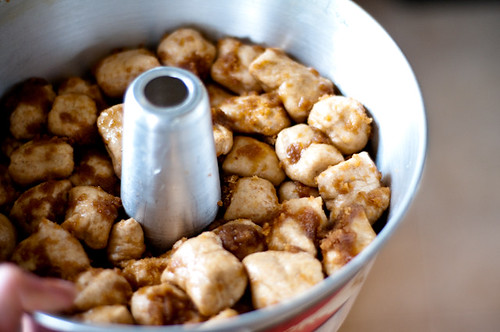
4. Continue layering dough balls around your tube pan until you run out.

DSC_9153

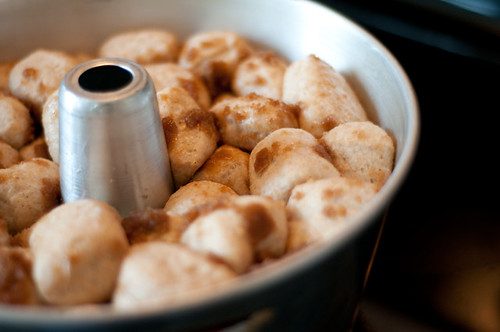
Cover tightly with plastic wrap and let rise for another hour.

DSC_9158

5. If your monkey bread was rising in the oven, remove from oven. Preheat oven to 350F. Remove plastic wrap. Bake 35ish minutes at 350F. Let sit in pan for five minutes, and then remove from pan.

At this point, I was pretty pleased with myself, but thought that the resulting monkey bread looked less gooey and more dry than I wanted. This is where the ultimate glaze comes in.....

DSC_9182

ultimate salted caramel glaze
1/4 cup butter (salted or not)
1/4 c dark brown sugar, packed
1/4 c white sugar
1/2 c whipping cream
(1/4 t sea salt, if using unsalted butter)
1 t cinnamon

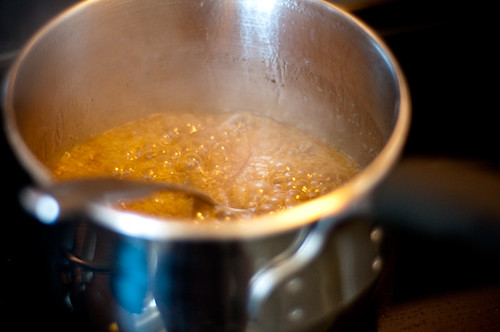
1. In a sauce pan, melt the butter with the two sugars. Bring to a boil and let the sugars dissolve.

2. Add the whipping cream (there will be serious bubbles going on). Cook together. Add cinnamon and salt (if needed) and continue cooking until thickened slightly.

DSC_9183

3. Remove from heat and let cool for five minutes. Slowly pour over still-warm (but not too hot) monkey bread.

DSC_9184

This is the ultimate. I would be lying if I said that six people did not polish this off in one fell swoop. It's really freaking good. Like my guest said - love child of a timbit and a cinnamon bun. MAKE IT NOW.

DSC_9196

You know what would also be good though? A savoury version, with herbed dough, dipped in garlic butter, then rolled in parmesan. And served with either a marinara sauce, or an herbed garlic butter glaze. The mind, it boggles, and the possibilities are infinite.

Related Posts with Thumbnails